

Swagger is a powerful representation of the RESTful API. It is a language-agnostic specification for describing REST APIs. Swagger is also referred to as the OpenAPI specification. Most developers use Swagger with the .NET API project to get interactive API documentation. In this article, we will create an ASP.NET Web API Application and add the Swagger NuGet package to publish a Swagger enabled API.
How to Create a Web API Project
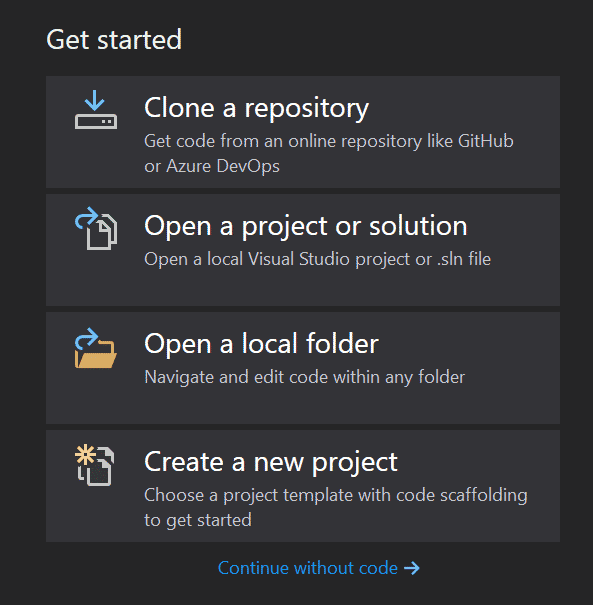
In this section, we will create a web API project in Visual Studio. To begin, open Visual Studio and create a new project, as shown in the image below:
Visual Studio Create New Project
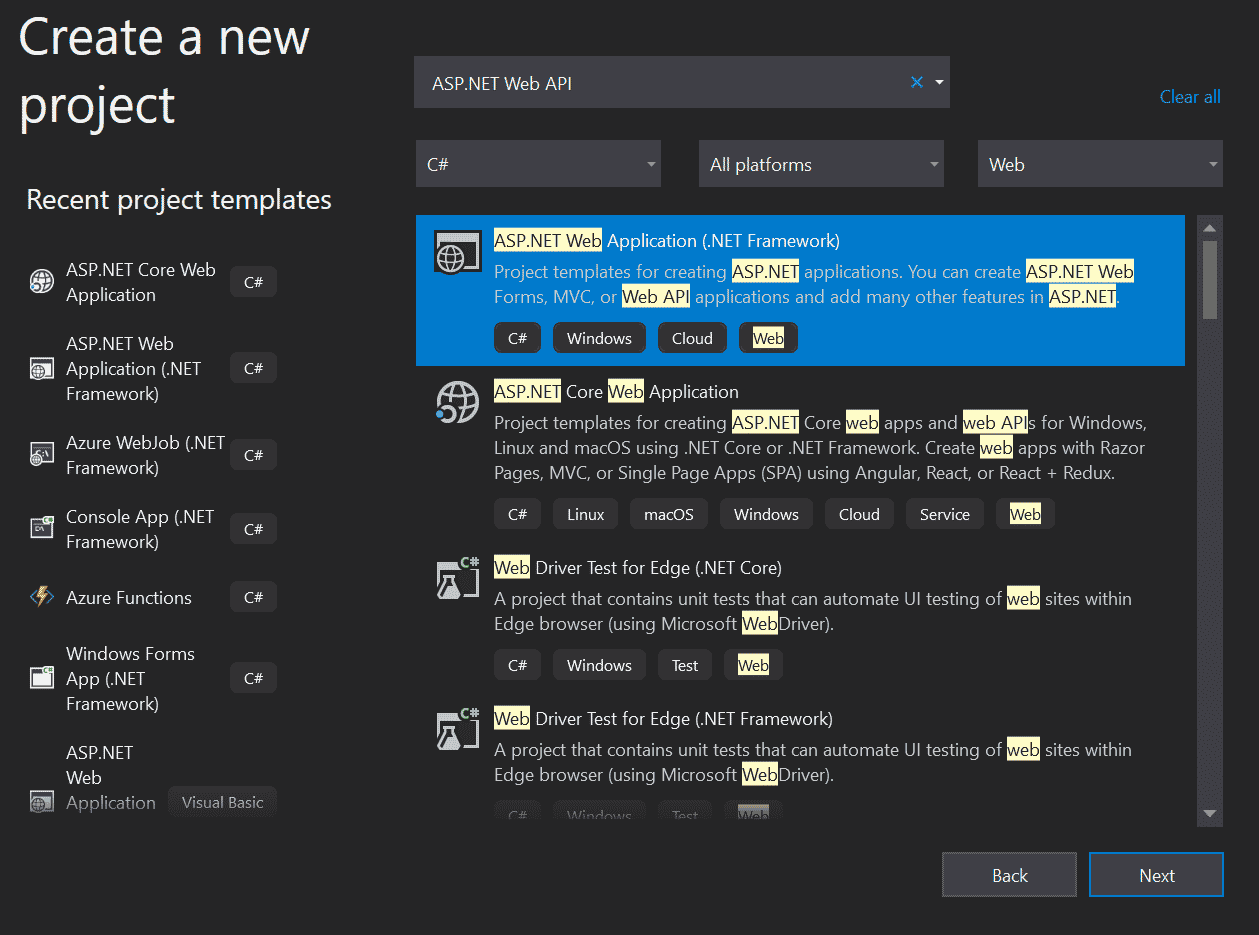
Select “ASP.NET Web Application” template, as depicted in the figure below:
ASP.NET Web Application Template
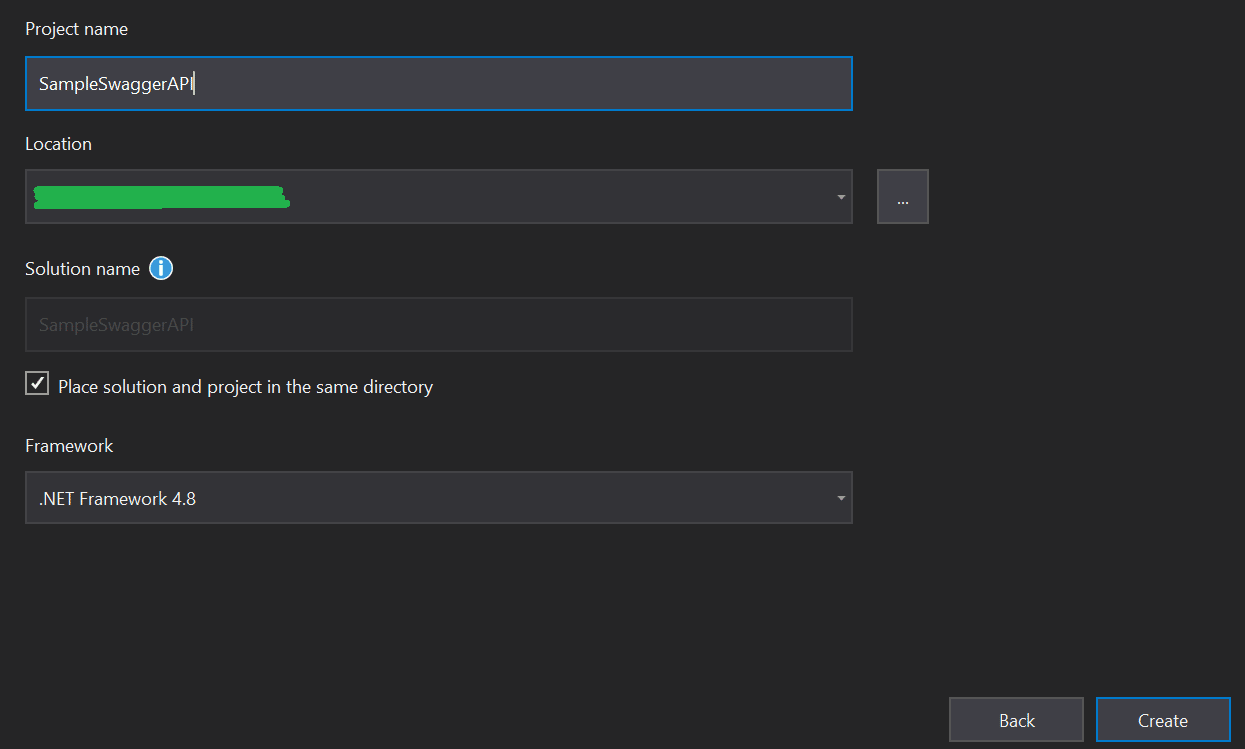
Next, name the project. For our example, we have created it with the name SampleSwaggerAPI. Now, click OK, as shown here:
SampleSwaggerAPI Project
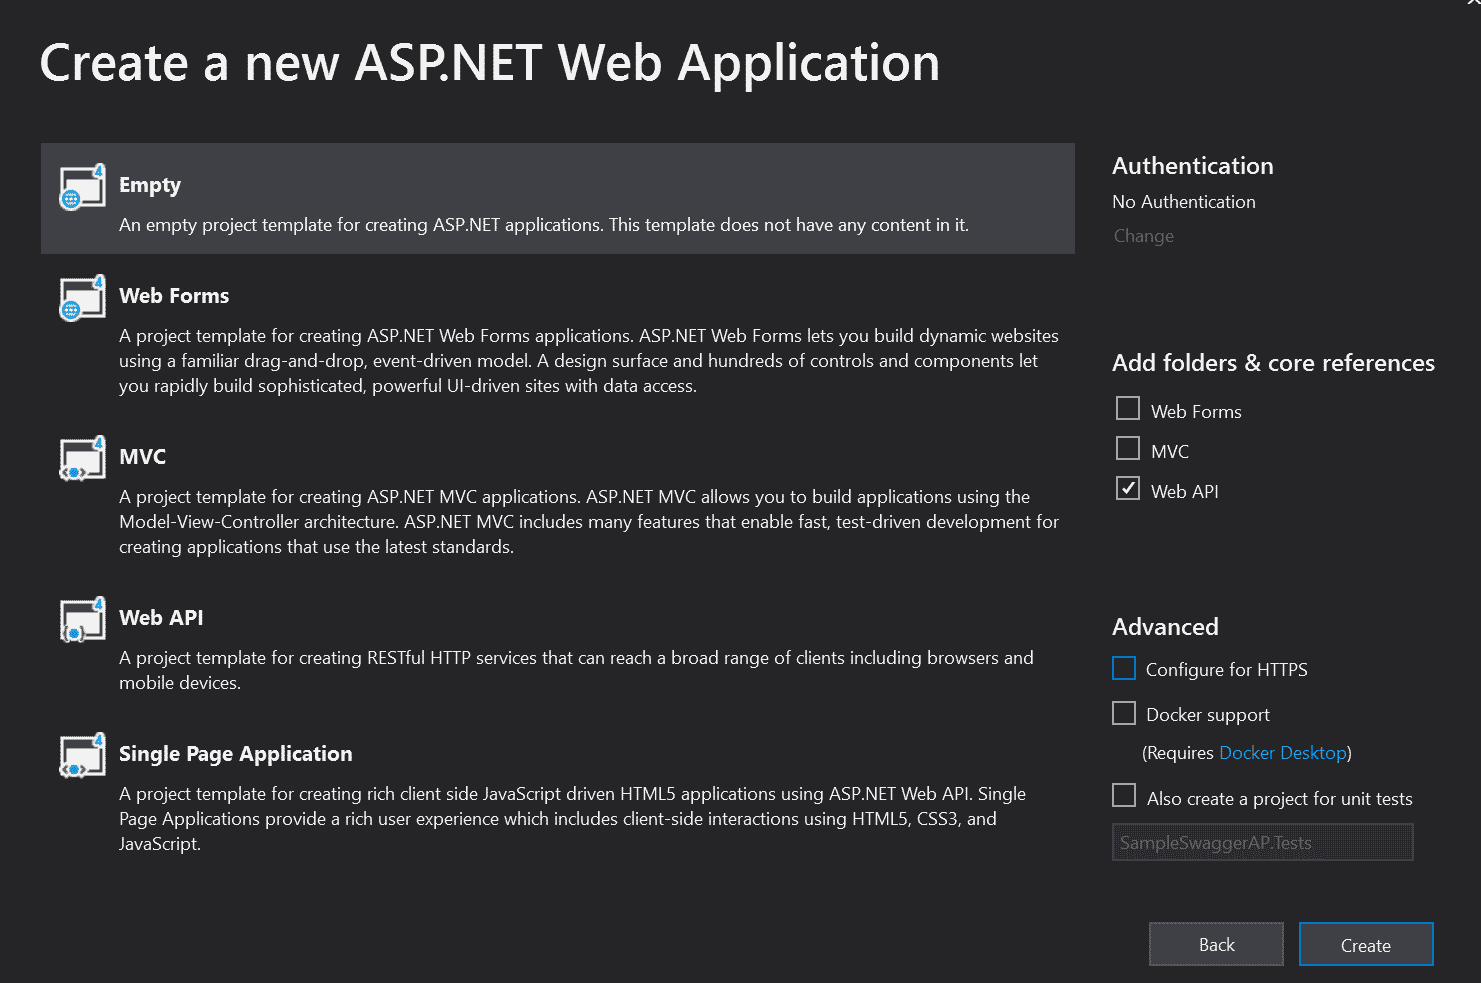
In the next screen – the Create a new ASP.Net Web Application page – select Web API Project and make sure it is empty. Refer to the image below:
Web API Empty Project
Wait for the project to be created; it may take a few minutes. Next, we will add a new controller as seen in the image here:
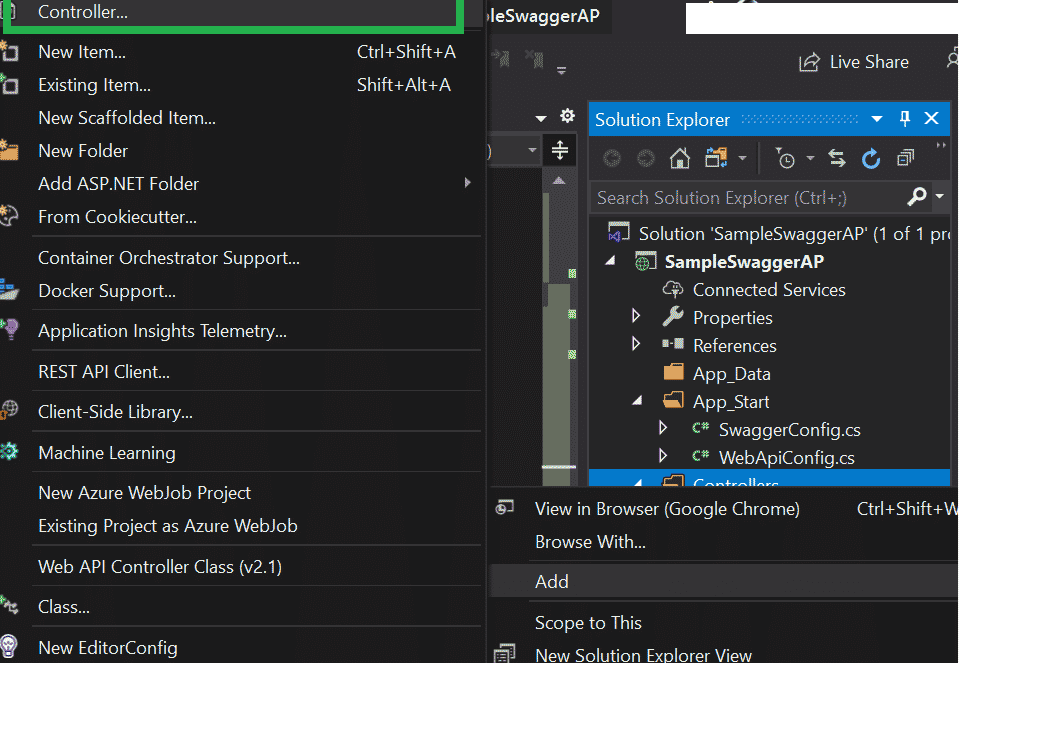
New Controller Added
Add the following ASP.Net code in the new AuthenticationController.
using System.Web.Http;
using Newtonsoft.Json.Linq;
using System;
using System.Collections.Generic;
using System.Linq;
using System.Net;
using System.Net.Http;
using System.Web.Http;
namespace SampleSwaggerAP.Controllers
{
public class AuthenticationController : ApiController
{
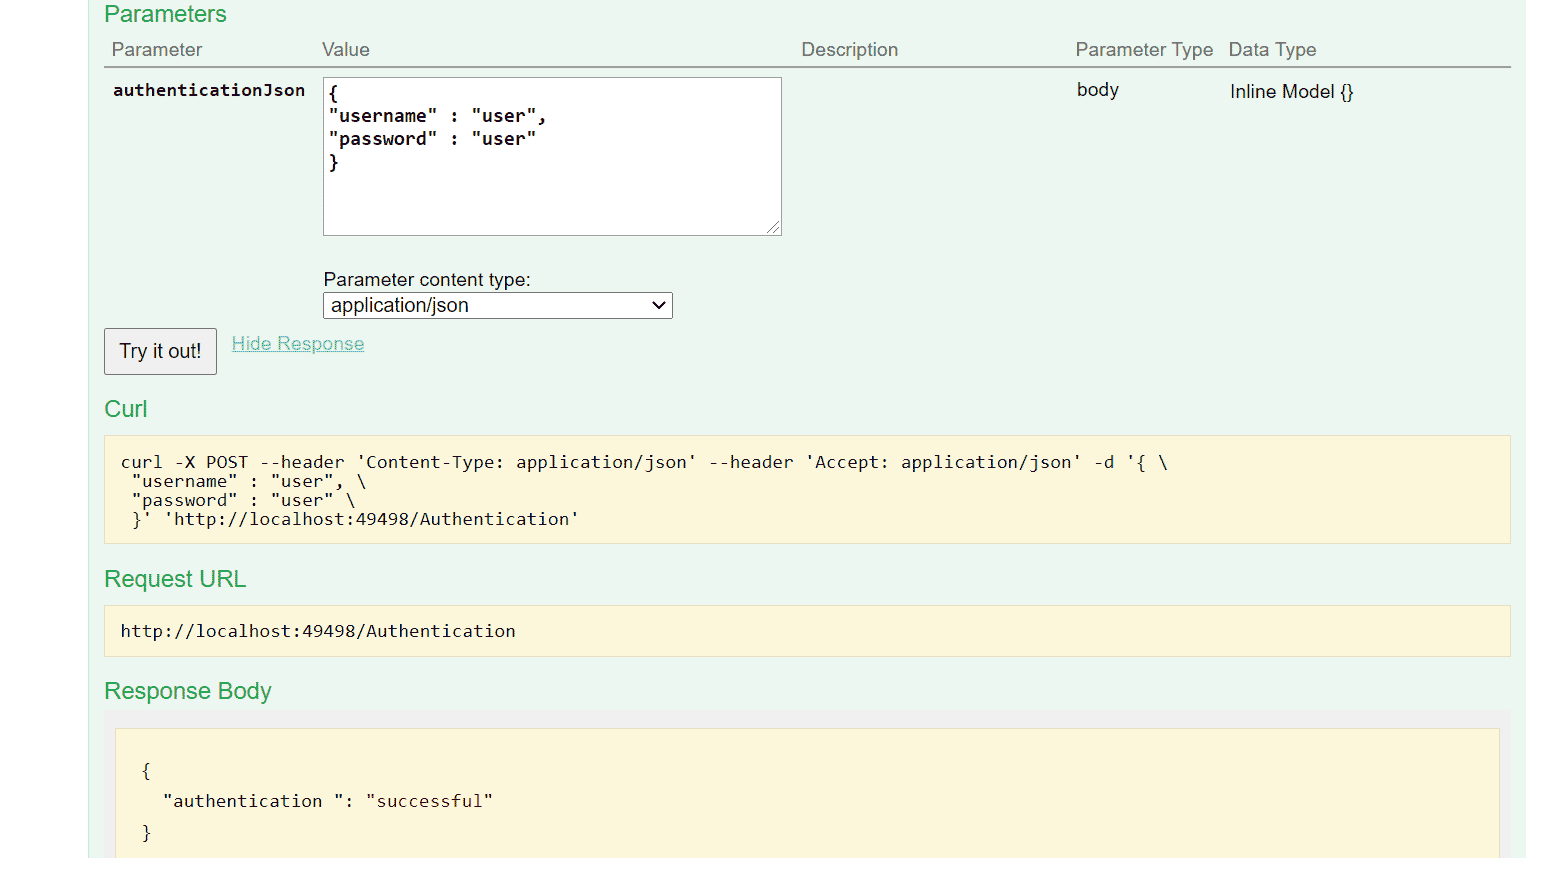
[HttpPost]
[Route("Authentication")]
public JObject authenticationService([FromBody] JObject authenticationJson)
{
JObject retJson = new JObject();
string username = authenticationJson["username"].ToString();
string password = authenticationJson["password"].ToString();
if (username == "user" && password == "user")
{
retJson.Add(new JProperty("authentication ", "successful"));
}
else
{
retJson.Add(new JProperty("authentication ", "unsuccessful"));
}
return retJson;
}
}
}
Once the controller has been created, we will add Swagger into our project. For that, we need to add a NuGet Package Swashbuckle. Right-click in the project and click ‘Manage NuGet Package’ as seen in the next image:
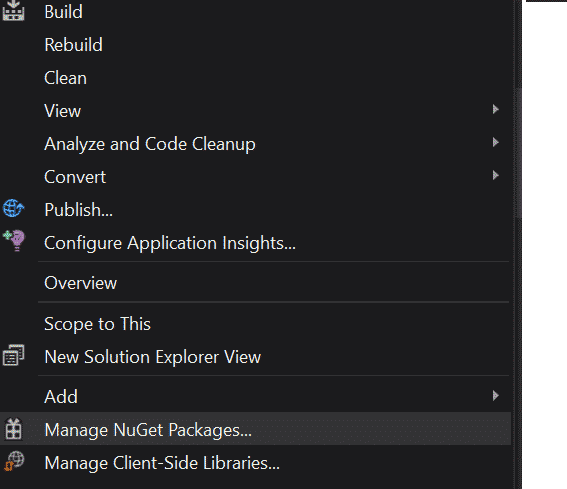
Add New NuGet Package
Once you have installed Swashbuckle to your project, you can find a SwaggerConfig file in App_Start:
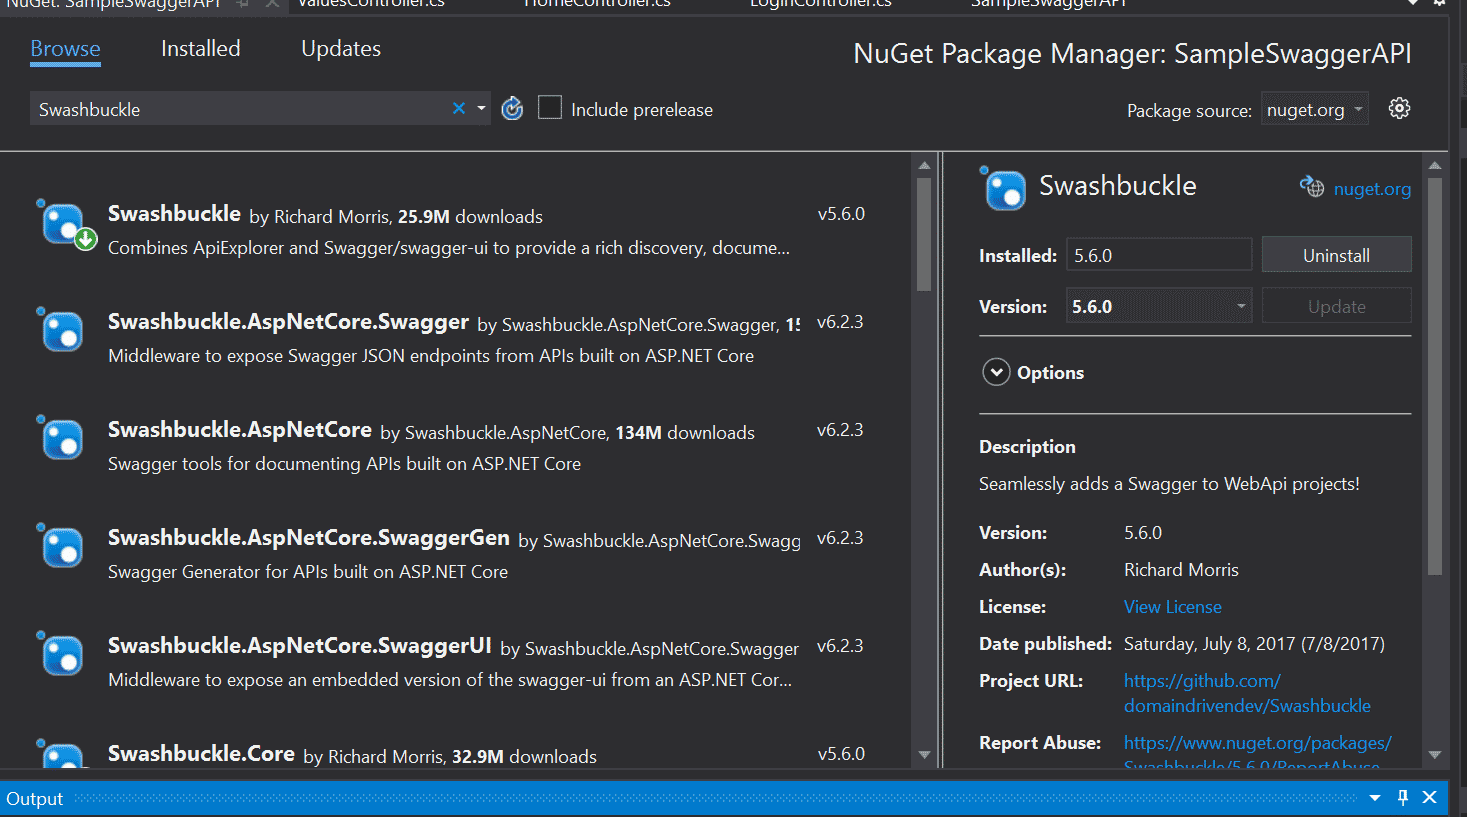
Swashbuckle NuGet Package Installed
Next, go to Project Properties. In the Build section, check > XML documentation file. Copy that path for future reference in code. XML documentation comments will be used in Swagger. See below:
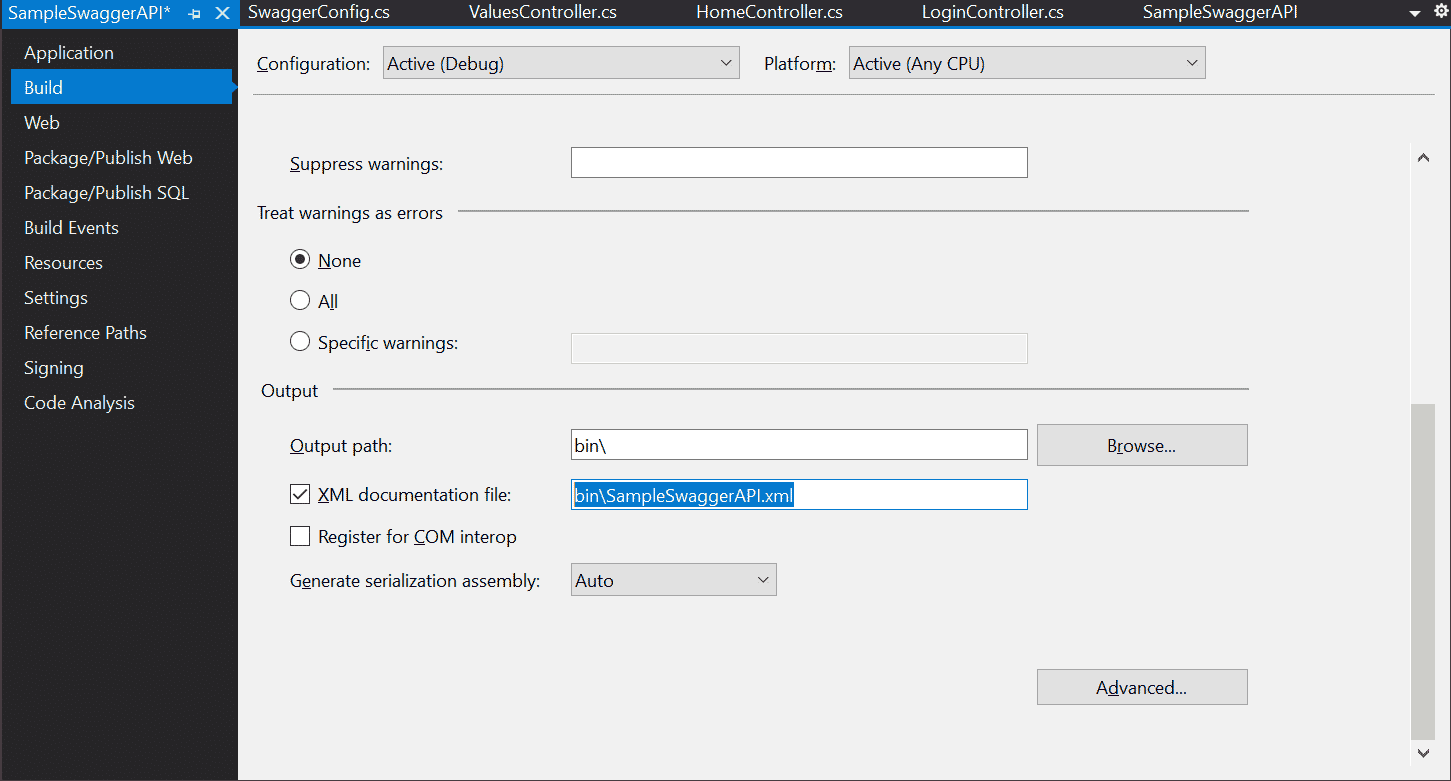
XML Documentation file path
Now, go to the SwaggerConfig file added in the App_Start folder. Search for c.IncludeXmlComments(GetXmlCommentsPath()) and uncomment it. Write the following ASP.Net code snippet in the SwaggerConfig class.
private static string GetXmlCommentsPath()
        {
            return System.AppDomain.CurrentDomain.BaseDirectory + @"\bin\SampleSwaggerAPI.xml";
        }
Next, run the VS project and add /Swagger in the URL: http://localhost:49498/swagger. You should see something that looks like the image below:
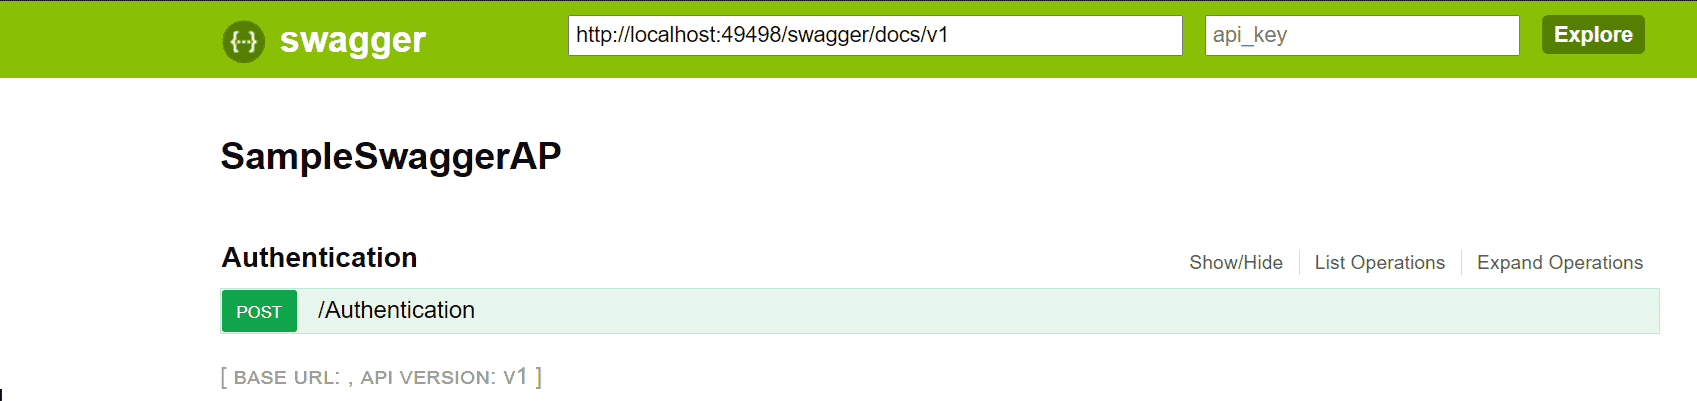
Test Swagger API
Implementing Swagger in ASP.Net Conclusion
We hope this article will be helpful for developers wanting to get started with Swagger in ASP.Net. Swagger defines a set of rules and tools to semantically define APIs for developers, which we have covered above. Look for more Swagger API tutorials in the near future!