

App settings are different for all environments. These settings are also different from an application perspective in Microsoft Azure. Microsoft Azure provides app settings to store application specific values. Any .NET application can read app settings by using Microsoft .Net libraries. In this article, I will demonstrate how to read the app settings from Azure in a .NET Core application.
How to Create Web Project in .NET Core
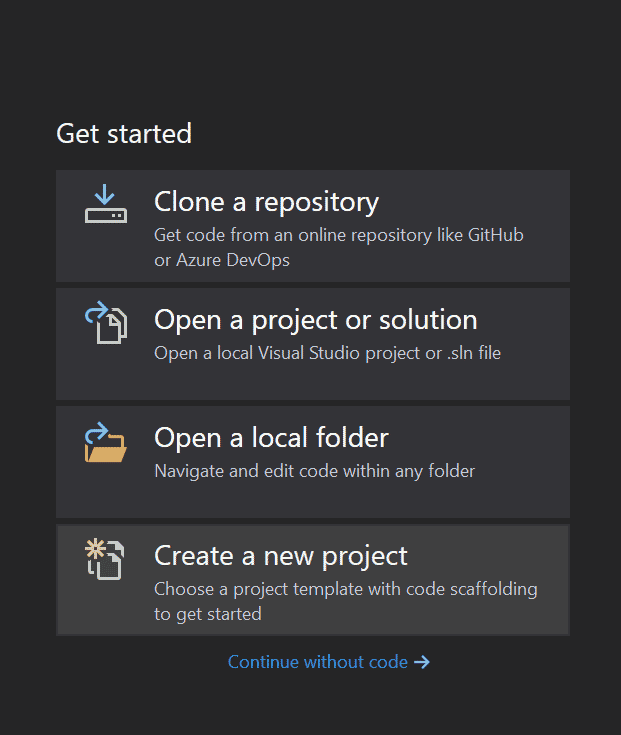
Open Visual Studio 2019 and click “Create a new project”, as shown below:
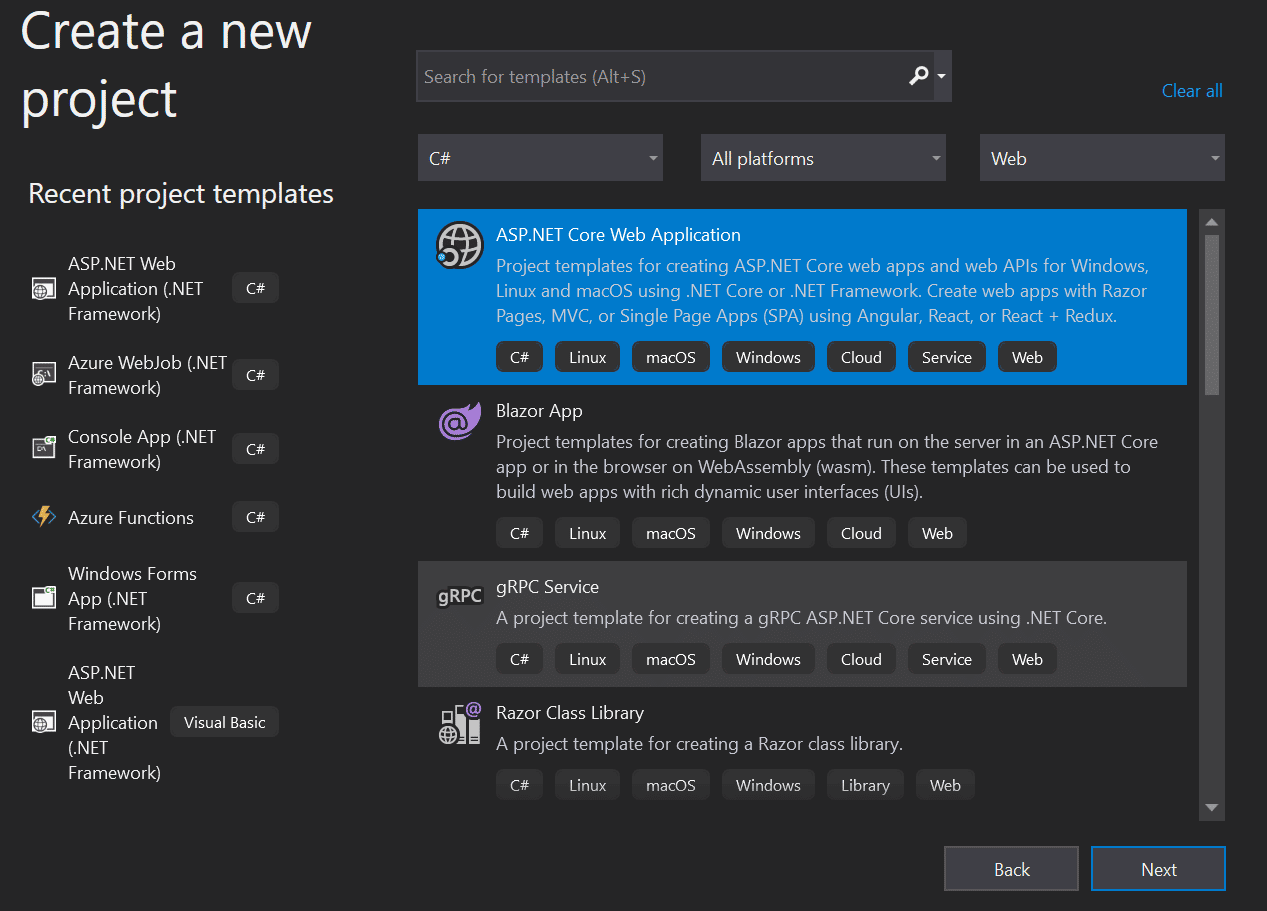
Next, In Visual Studio, select the .NET Core project template. See the image below.
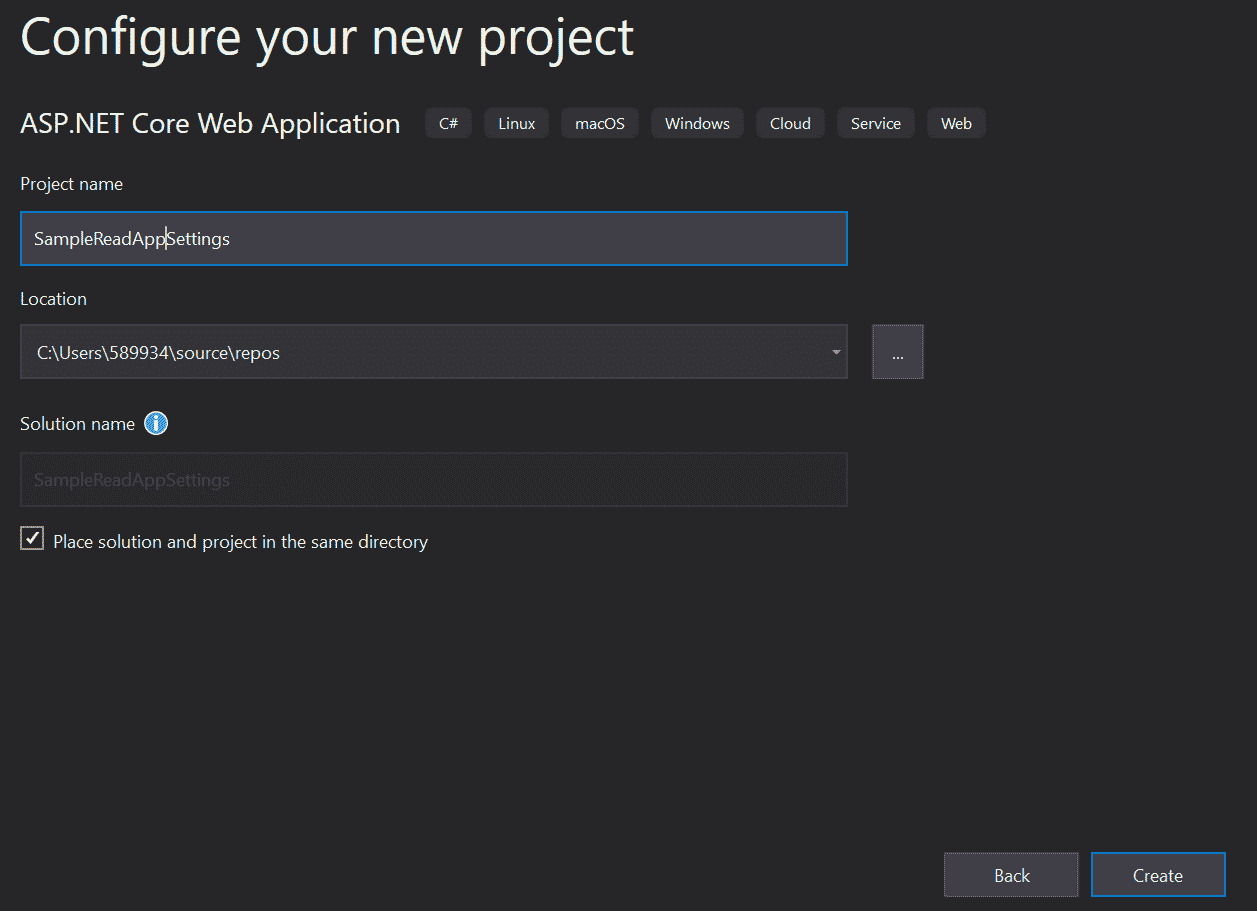
Click on the “Next” button, enter the project name, and then choose “Create”.
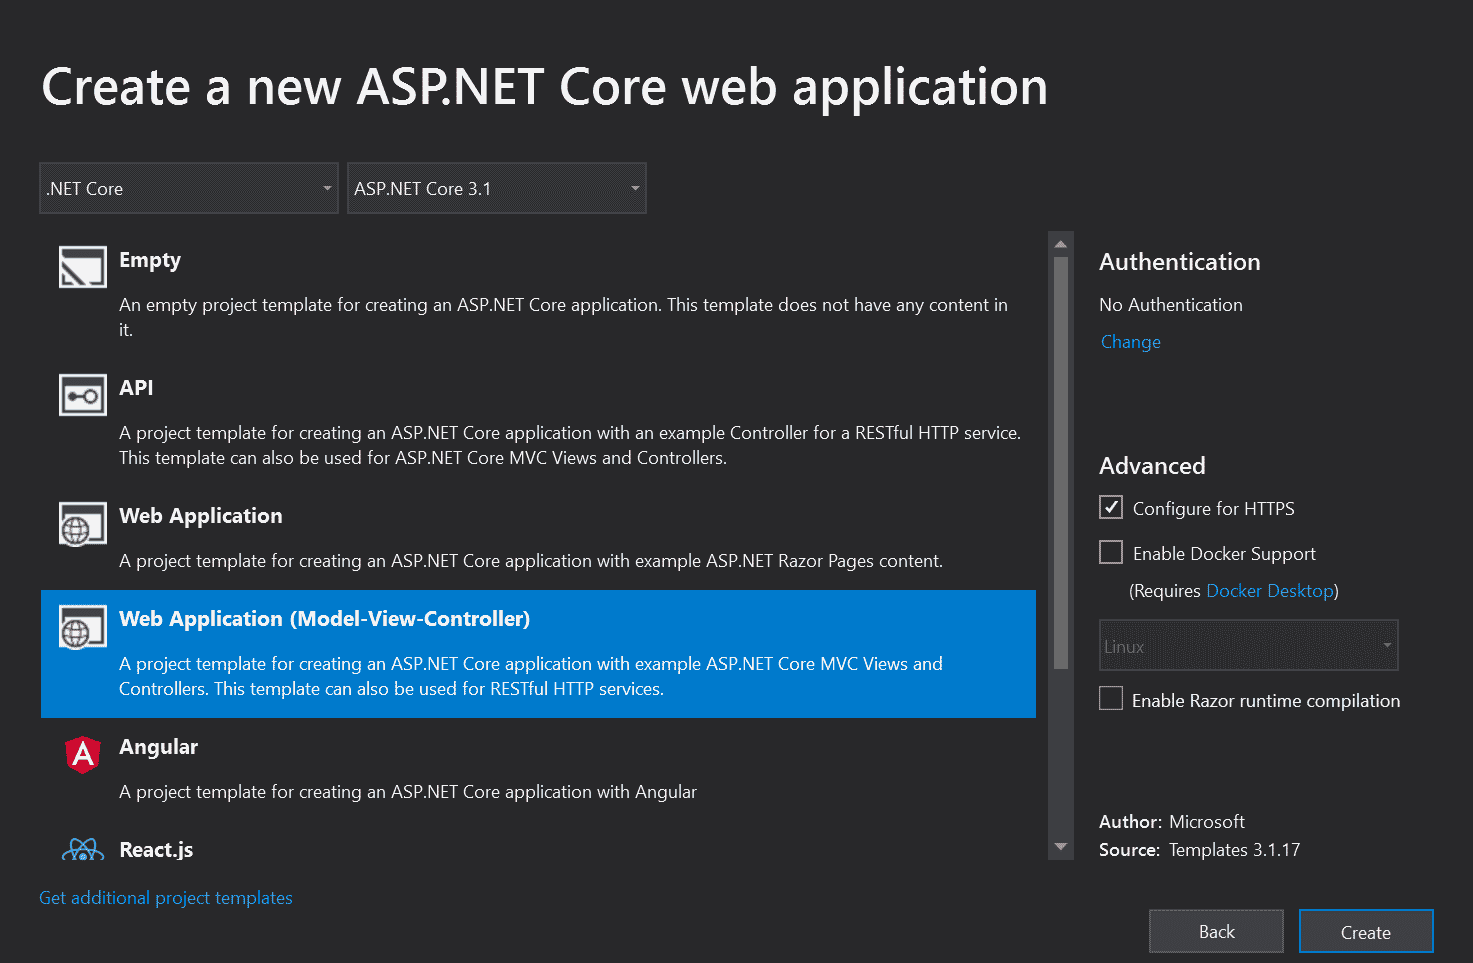
Next, select the “Web Application (Model-View-Controller) template and click “Create”.
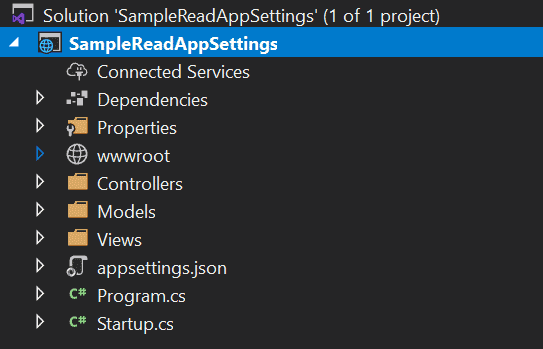
This creates a project and structure that looks like the following figure:
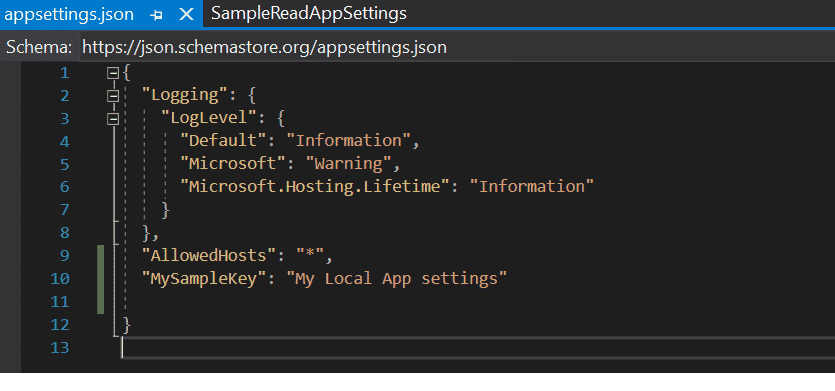
Next, open the file Appsettings.json and add the Key value “MySampleKey”. Refer to the image below if you get lost:
Next, add a new class named “AppConfig” and an interface named “IAppConfig”. The following .Net code snippet will read the configuration from the .Json file:
using Microsoft.Extensions.Configuration;


namespace SampleReadAppSettings
{
    public class MyAppConfig : IMyAppConfig
    {
        public readonly string Mytestvalue = string.Empty;
        public IConfiguration MyConfiguration { get; }
        public MyAppConfig(IConfiguration Myconfiguration)
        {
            MyConfiguration = Myconfiguration;
            Mytestvalue = MyConfiguration["MySampleKey"];
        }

        public string GetMyTestValue()
        {
            return Mytestvalue;
        }
    }
    public interface IMyAppConfig
    {
        string GetMyTestValue();
    }
}
Next, dependency will be added to the startup.cs file. Use the following code snippet:
// This method gets called by the runtime. Use this method to add services to the container.
        public void ConfigureServices(IServiceCollection services)
        {
            services.AddControllersWithViews();
            services.AddTransient<IMyAppConfig, MyAppConfig>();

        }
Next, open the Controller and inject “IMyAppConfig”. Refer to the following code example:
private readonly IMyAppConfig _appconfig;

        public MyTestController(IMyAppConfig appconfig)
        {
            _appconfig = appconfig;
        }

        [HttpGet]
        public IActionResult Get()
        {
            var result = _appconfig.GetMyTestValue();
            return Ok(result);
        }
Next, execute the code and run the project. You shoul see that the config value will come from the .Json config file, which gets printed in the browser.
Create a Web App in Azure and Deploy It
In this section, we will create a Web App in Azure and deploy it. To begin, open a browser window and login to your Azure account. On the home page, we have the “App Services” option; click on that to create a new Azure app service, as depicted in the image below.

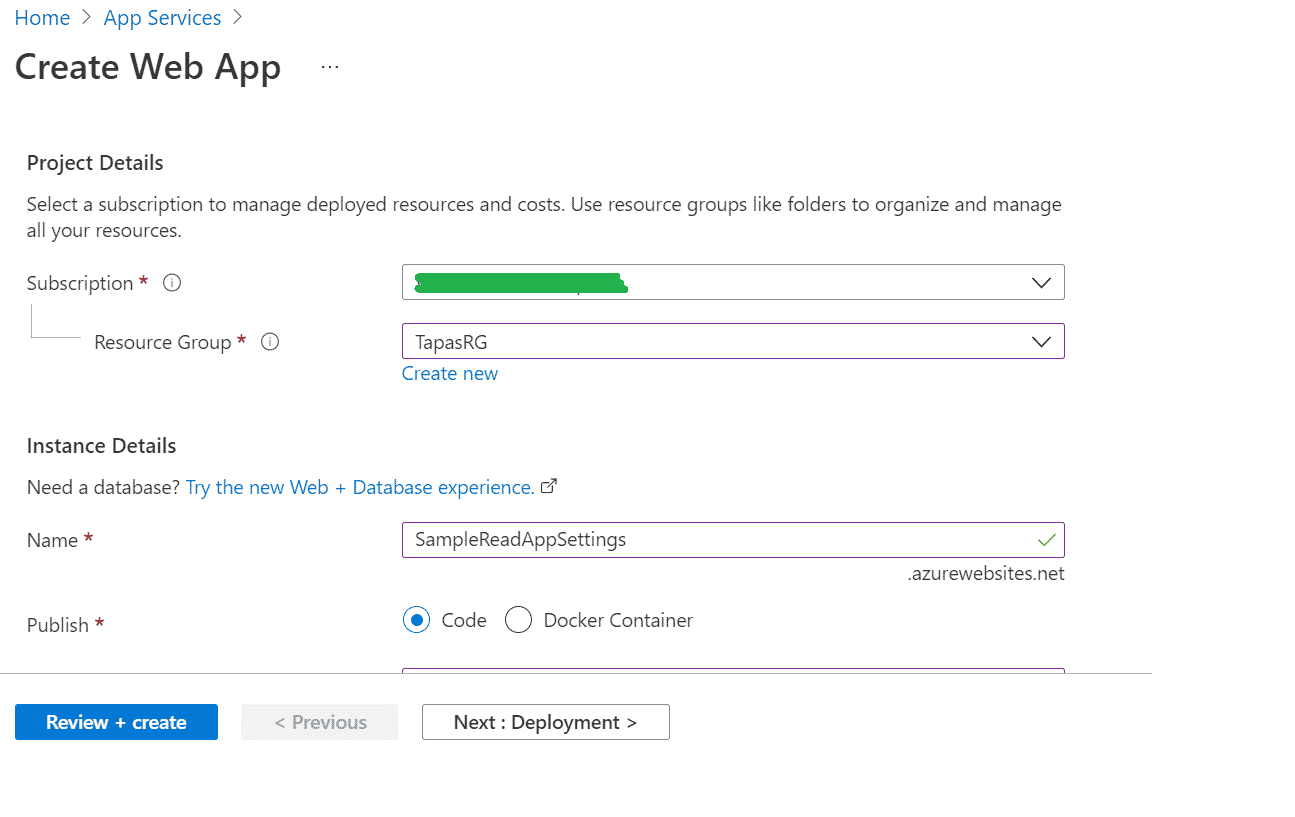
Next, on the New App Service page, fill in all the details and click Review and Create as depicted below:
It will take some time to deploy. After deploying, click on “Go-to-resources”.

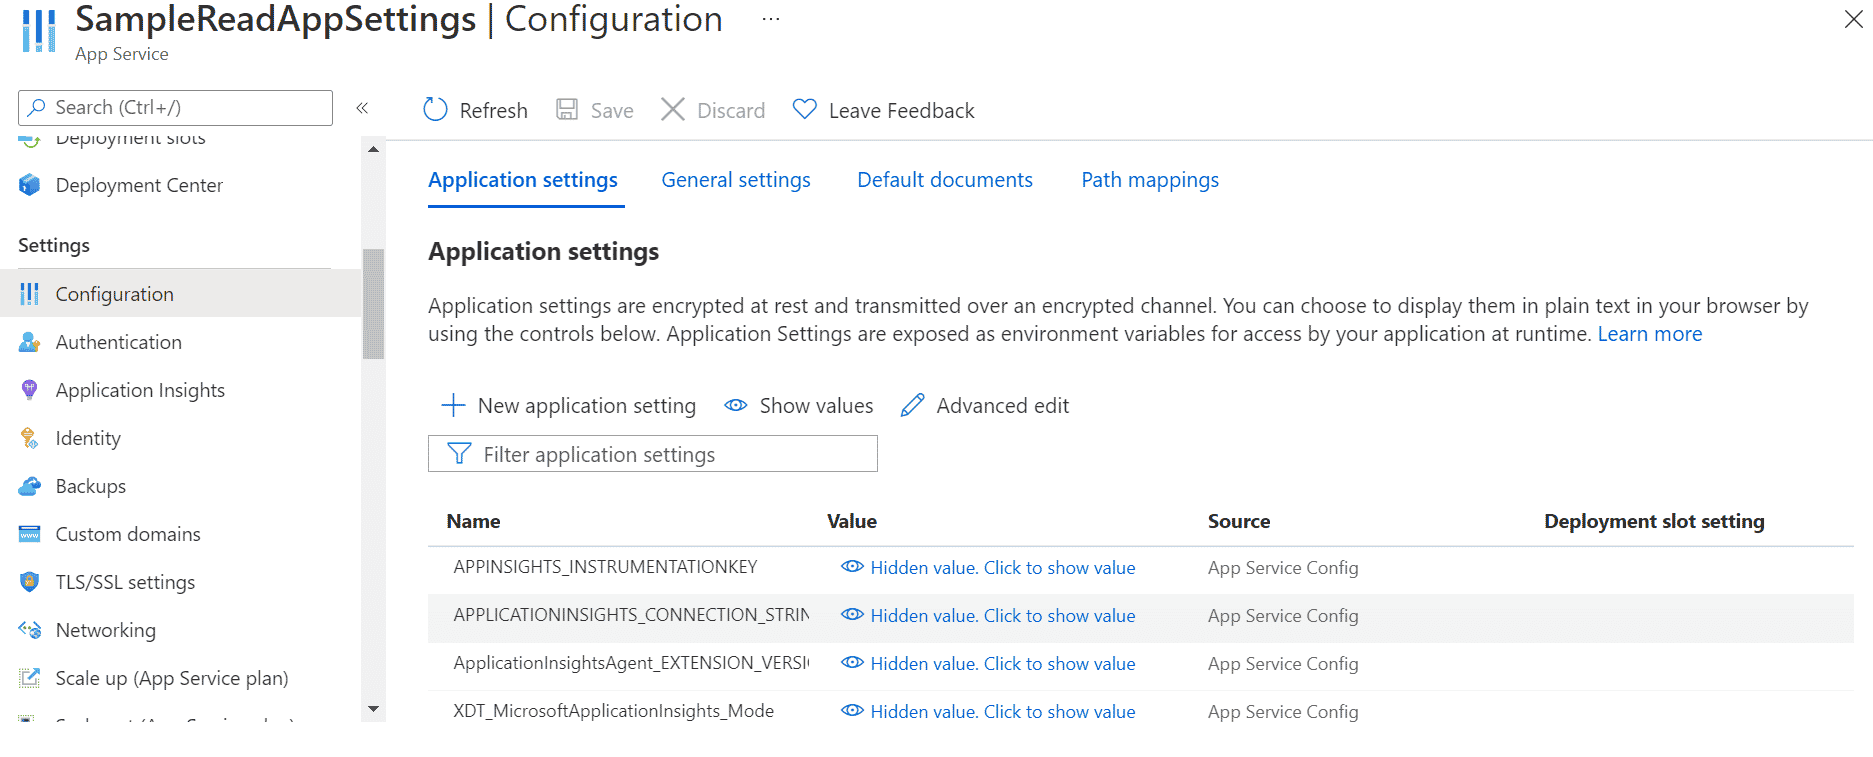
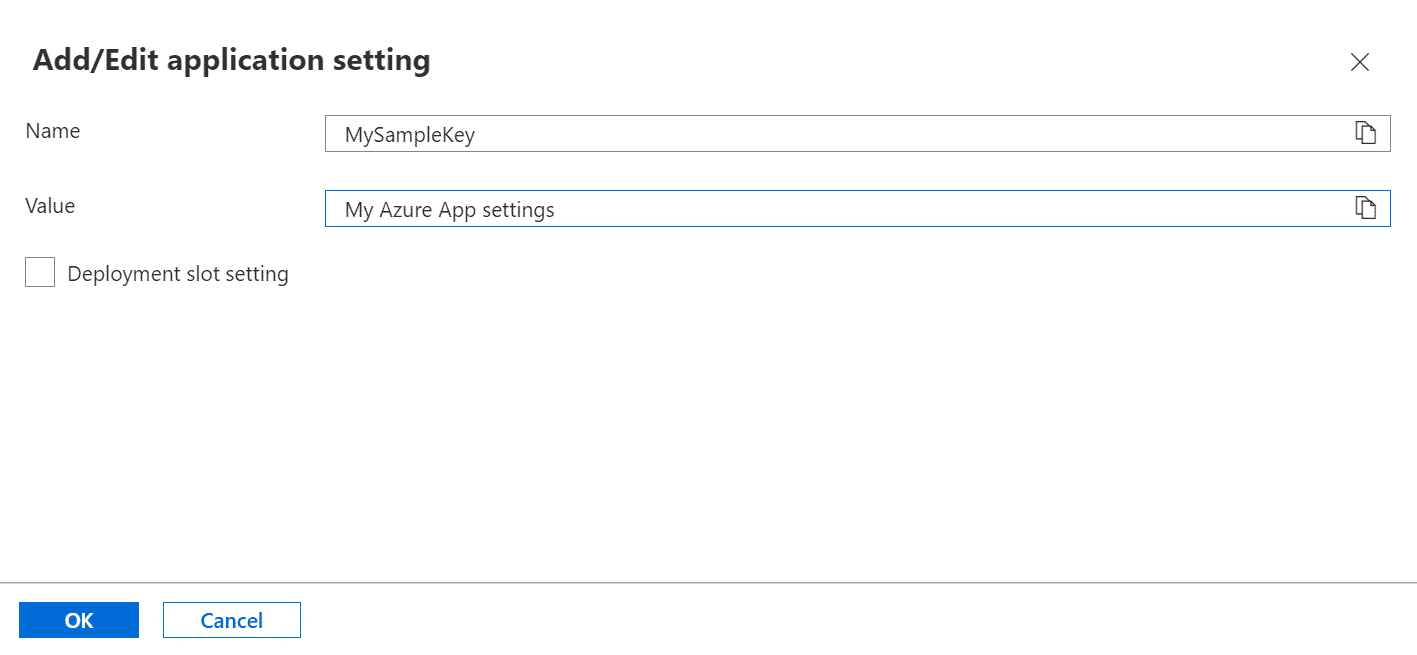
In the App settings, click on the search box and search for “configuration”. Click on the configuration and click on “New Application Settings“. Next, add the pair of key-values, which we used in our appsettings.json file. Click on “Save“.
We will read the above created Azure Config value from C# Code.
Next, add nested items in the appsettings.json file and modify the key name in the .cs file. Refer to the following code snippet:
{
  "Logging": {
    "LogLevel": {
      "Default": "Information",
      "Microsoft": "Warning",
      "Microsoft.Hosting.Lifetime": "Information"
    }
  },
  "AllowedHosts": "*",
  "MySampleKey": "My Local App settings",
  "Root": {
    "Inner": "My Local App settings"
  }
}
Finally, download the published profile from Azure and publish the .Net Core Web project in Azure. Then, run the application and it will print the Config value added in the Azure App config file.