

Introduction
Developers now can create an Ubuntu Server virtual machine (VM) from the Azure portal. By default, in Azure Stack Marketplace, a Linux image is not available. A developer needs the Azure Stack operator to provide for the Ubuntu Server image. The operator can use the instructions in Download Marketplace items from Azure to Azure Stack.
In this article, I will demonstrate how to create and use a Ubuntu virtual machine.
Prerequisites
Here’s a quick list of the objects you will need to start:
- An active account in Azure Portal: https://portal.azure.com
- Connect an Ubuntu Virtual Machine through Putty
Steps to Create an Ubuntu Virtual Machine in Azure
Open Azure portal https://portal.azure.com and click “Create a Resource.” This is shown in Figures 1 and 2.
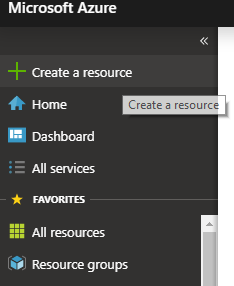
Figure 1: Azure Create a Resource
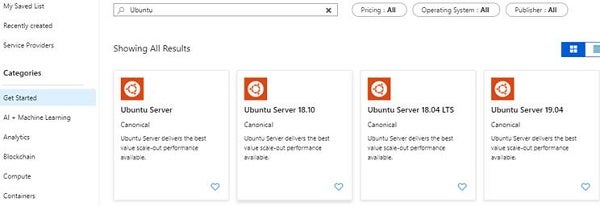
Figure 2: Search Ubuntu
Next, type Ubuntu in the search box and select Ubuntu Server 18.10, as shown in Figure 3.
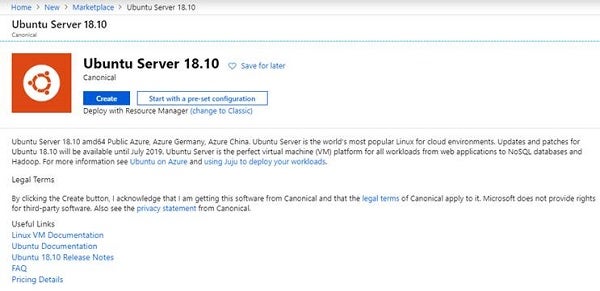
Figure 3: Ubuntu Server 18.10
Next, click the “Create” button.
Once the next screen appears (shown in Figure 4), select Subscription, Resource Group, Virtual Machine name, select Region, Image, and so forth.
Set username and password to log into the VM and make a note of that.
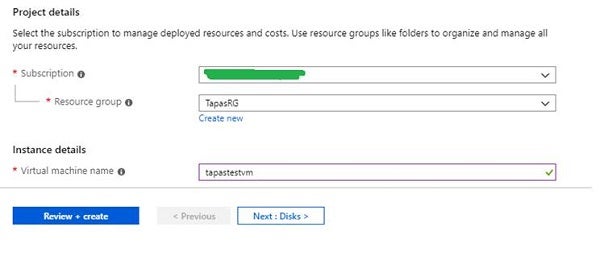
Figure 4: Azure Select Subscription
Next, set the administrator account and then set the inbound port rules. Don’t forget to set the Inbound Port Rules.
Set HTTP and SSH (see Figure 5).
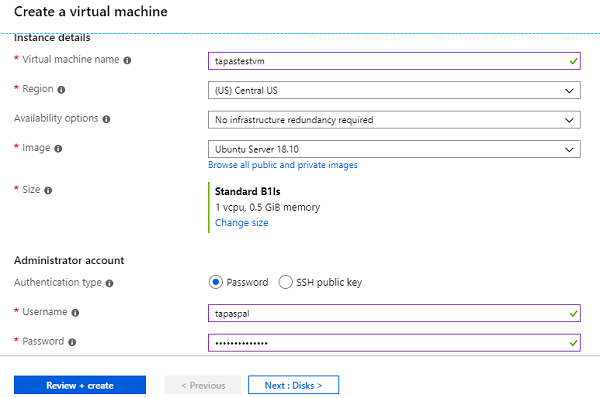
Figure 5: Azure Instance details and Admin Account details
Then, click “Next” to change the disk type, as shown in Figure 6.
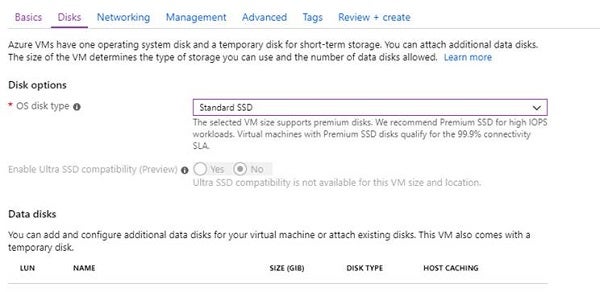
Figure 6: Azure Disk Type Setup
Next, you have to update the network settings. Just click Next, as you can see in Figure 7.
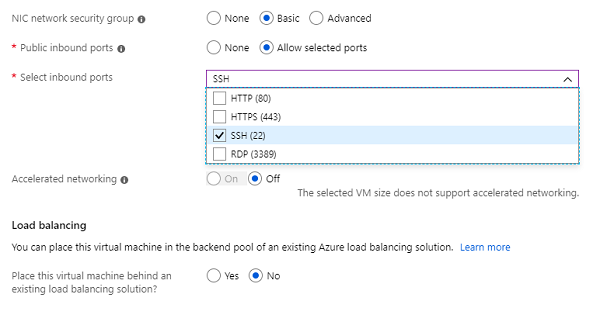
Figure 7: Azure Network Setting
Next, following is the set of several properties in the management tab. You have to update those, as shown in Figure 8.
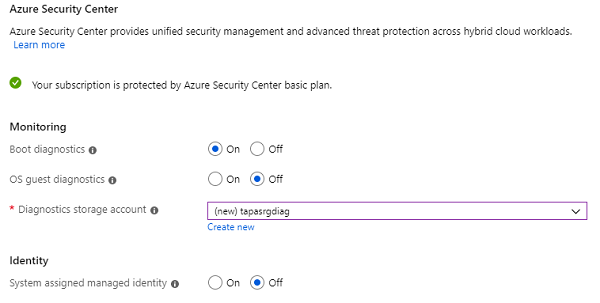
Figure 8: Security Setting
Next, set the following configurations accordingly (see Figures 9 and 10).
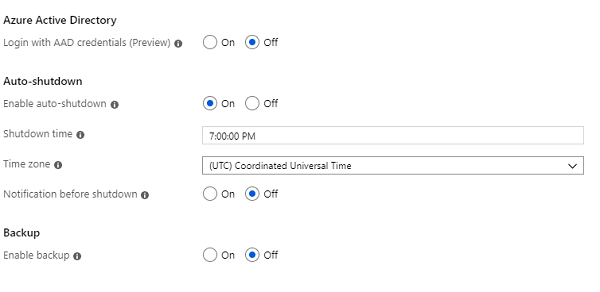
Figure 9: Advance Settings
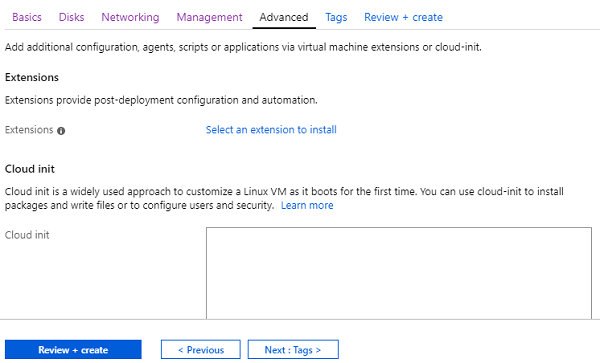
Figure 10: Advance Settings, continued
Set the Tags and click “Review + Create,” as shown in Figure 11.
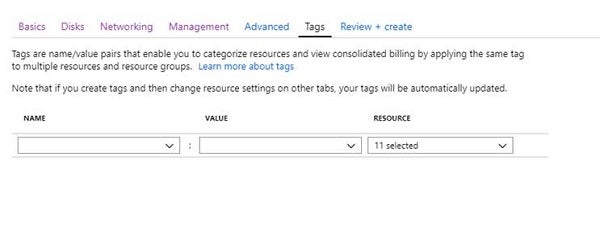
Figure 11: Azure Tags
Click “Create.” VM creation will take some time. Once it is up and running, we will connect our VM by using an SSH tool called Putty.
Next, open the virtual machine in Azure portal and look for the Public IP address, which helps you to connect with newly created VM and also required in the putty tool to connect the VM. This is demonstrated in Figure 12 and 13.
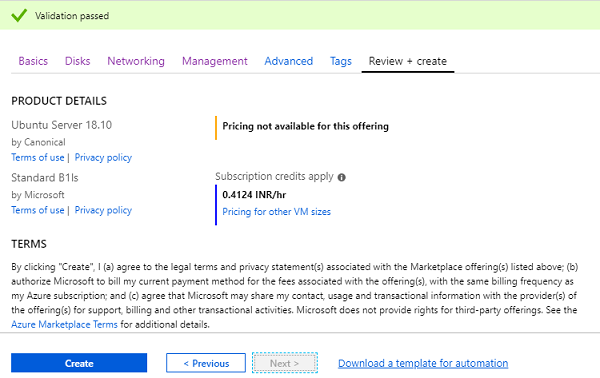
Figure 12: Azure VM Create
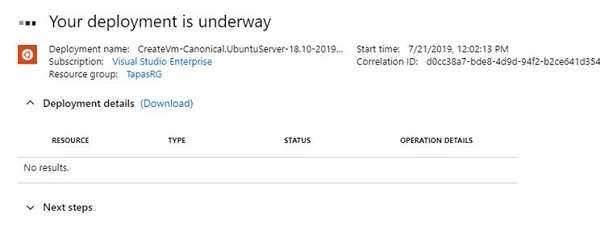
Figure 13: Azure VM Deployment In Progress
Next, download Putty.exe and pass that public IP address in it. Give the username and password that you set in the portal at the time of creation of Virtual Machine. That’s how you can connect to the virtual Ubuntu Linux Machine. You can see this in Figures 14 and 15.
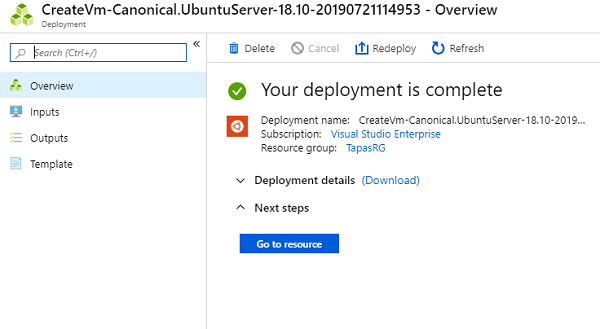
Figure 14: Azure VM Deployment Completed
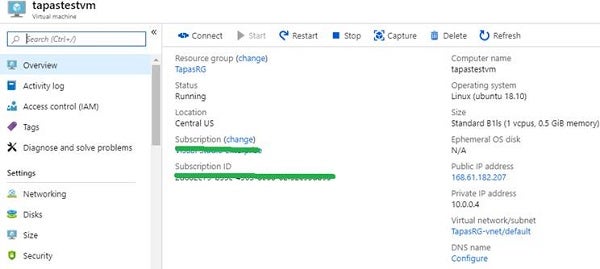
Figure 15: Azure VM
Conclusion
I hope this article explains how to create the Ubuntu VM in Azure Portal. To delete the VM and its resources, select the resource group on the VM page, and then select Delete.
That’s all for today. Happy coding!