

Objects you can store in Azure Storage services include file, folders and directories, and file shares. Files stored in Azure file share such as Blob can be accessed via an SMB (Server Message Block) protocol. The SMB protocol provides shared access to resources including documents, files, printers, and serial ports over a network. Microsoft provides a NuGet package for reading and storing files in Azure Storage File Shares that comes quite in handy to .Net developers.
Developers can use the client library for .NET and write code for file-sharing operations. In this article, we will demonstrate the functionalities of the Microsoft-provided NuGet package and explain its usage .Net code examples.
Prerequisites for Setting Up the Azure Development Environment
To set up an Azure development environment you will need to meet some basic prerequisites. We outline them below:
- Visual Studio Community edition
- Microsoft Azure Free Subscription
- Azure Storage File Shares client library for .NET
How to Create Azure Storage for Files
Login to the Azure Portal and search for “Storage” accounts as depicted in the image below.

Next, on the Storage Accounts page, select Create. Refer to the figure below if you get lost.

On the Create Storage Account page enter your Storage Account Name, select Region, then choose Standard performance for general-purpose. Click the ‘Next : Advanced’ button. See the following image for more.

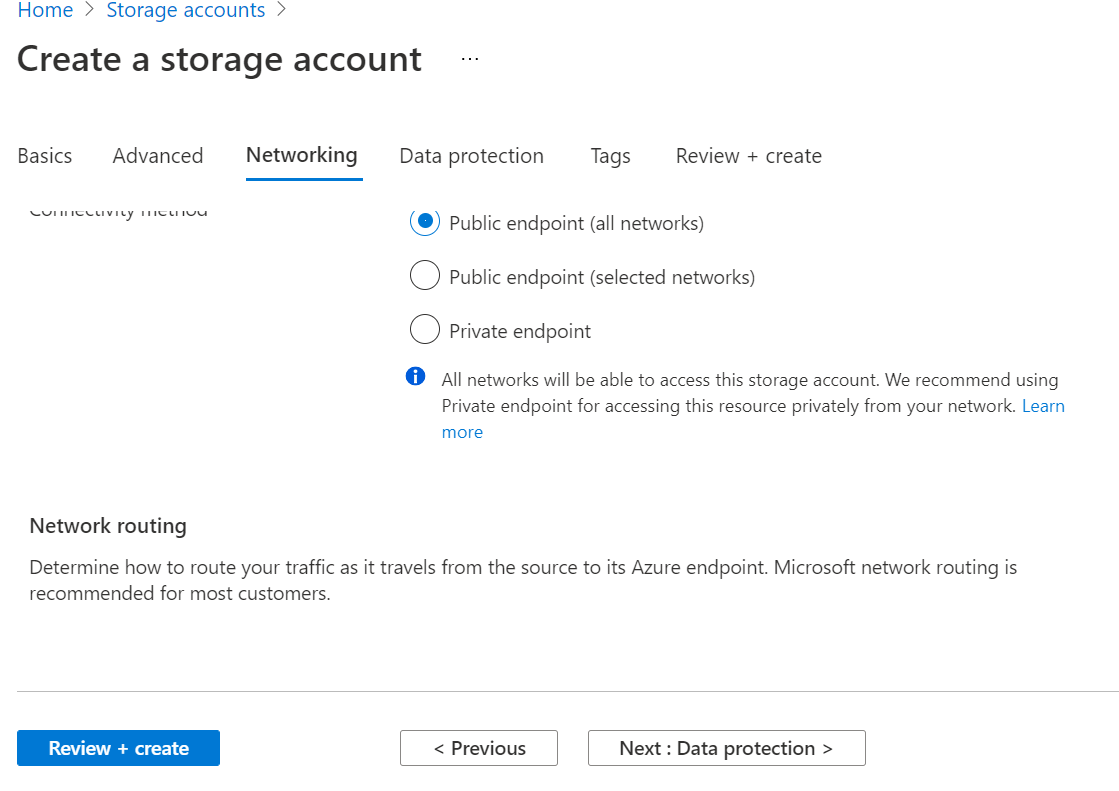
In the Networking section, select the option Public endpoint (all networks) as depicted in the figure below:
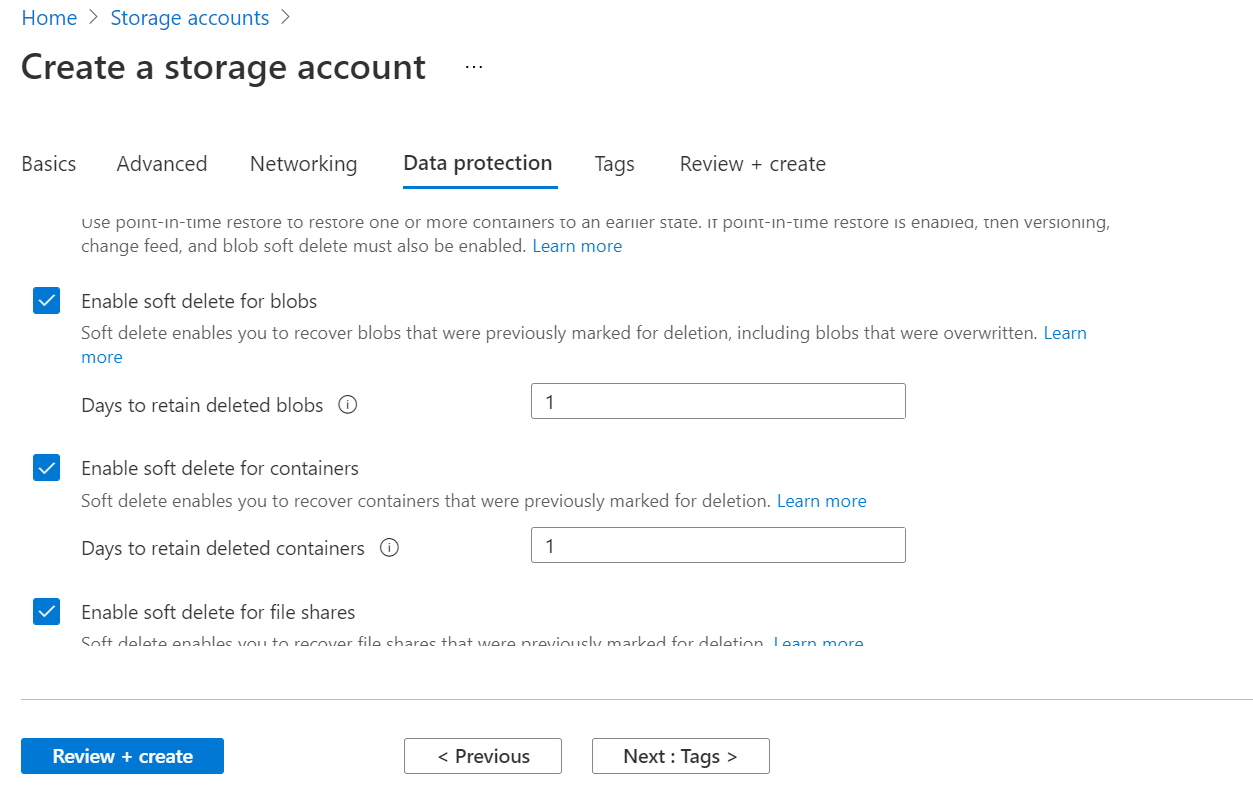
Similarly, in the Data Protection section, select the following options:
Enable soft delete for blobs Days to retain deleted blobs: 1 Enable soft delete for containers Days to retain deleted containers: 1 Enable soft delete for file shares
Then click ‘Review + Create’.If you get lost, check the image below.
Be aware that deployment of the storage account may take some time. Refer to the following figure:
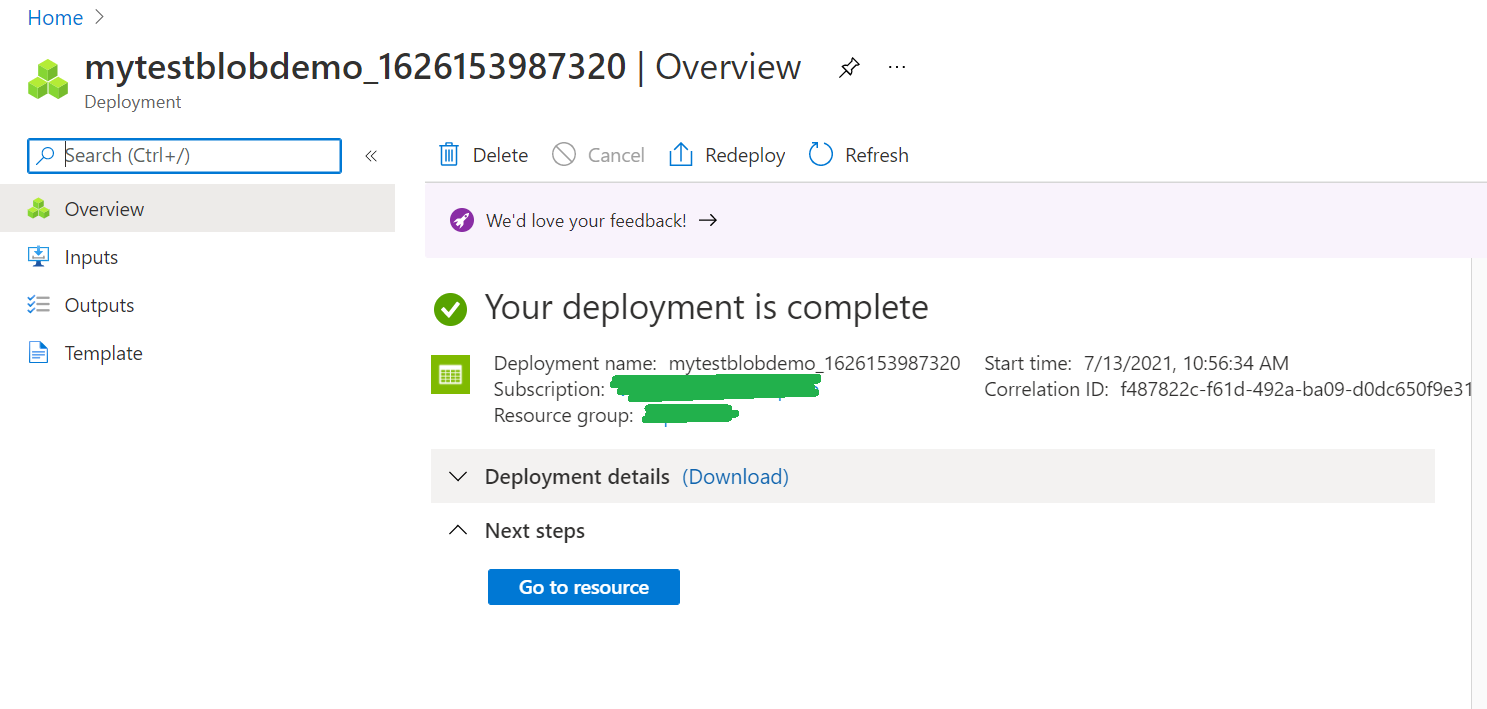
After completion of the deployment, click ‘Go To Resources’. Then click Container under the Data Storage section. See the image below:
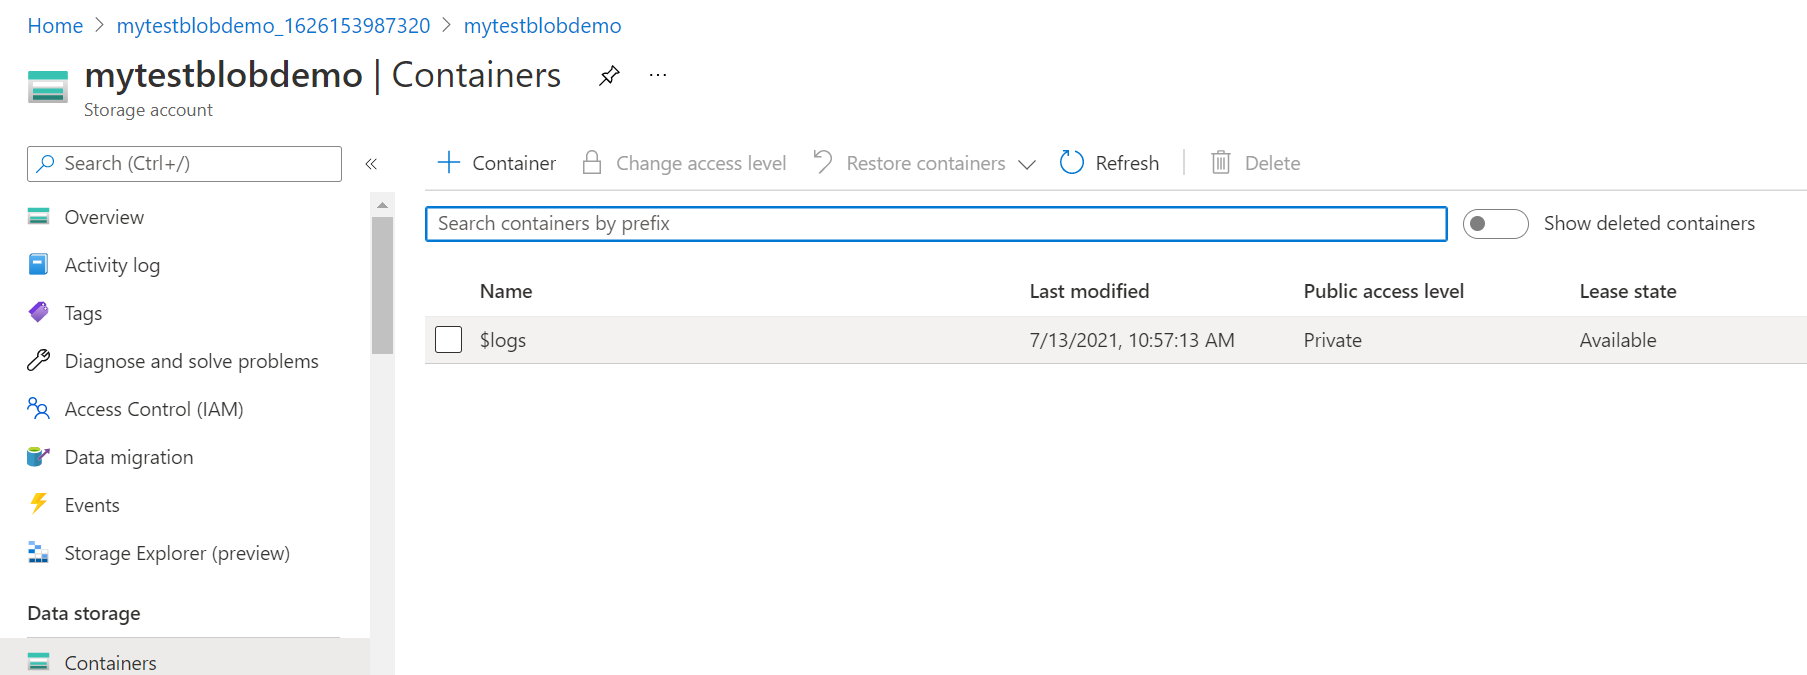
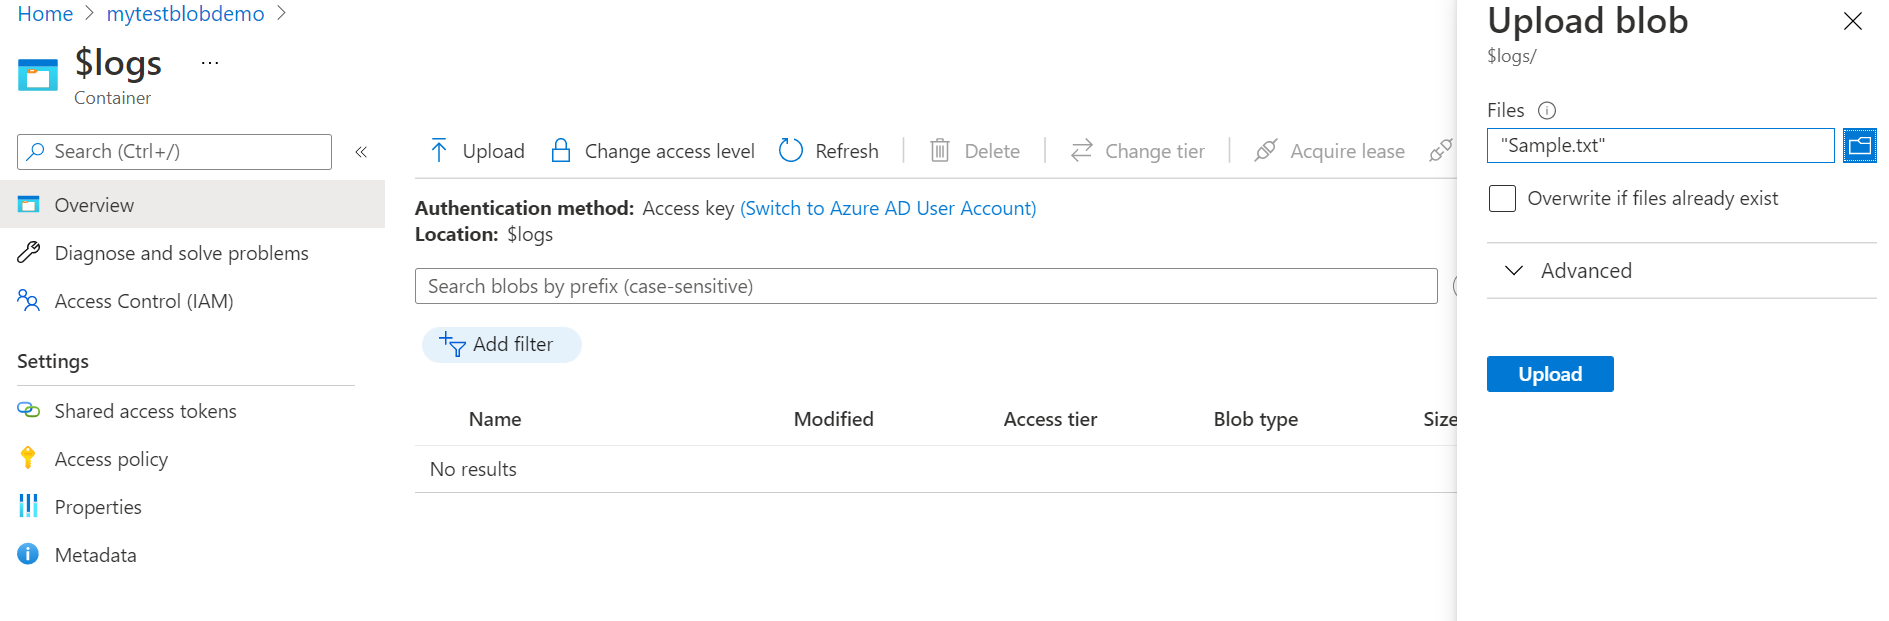
Next, select the $log container already created and click Upload to add a file manually in the container. See the image below:
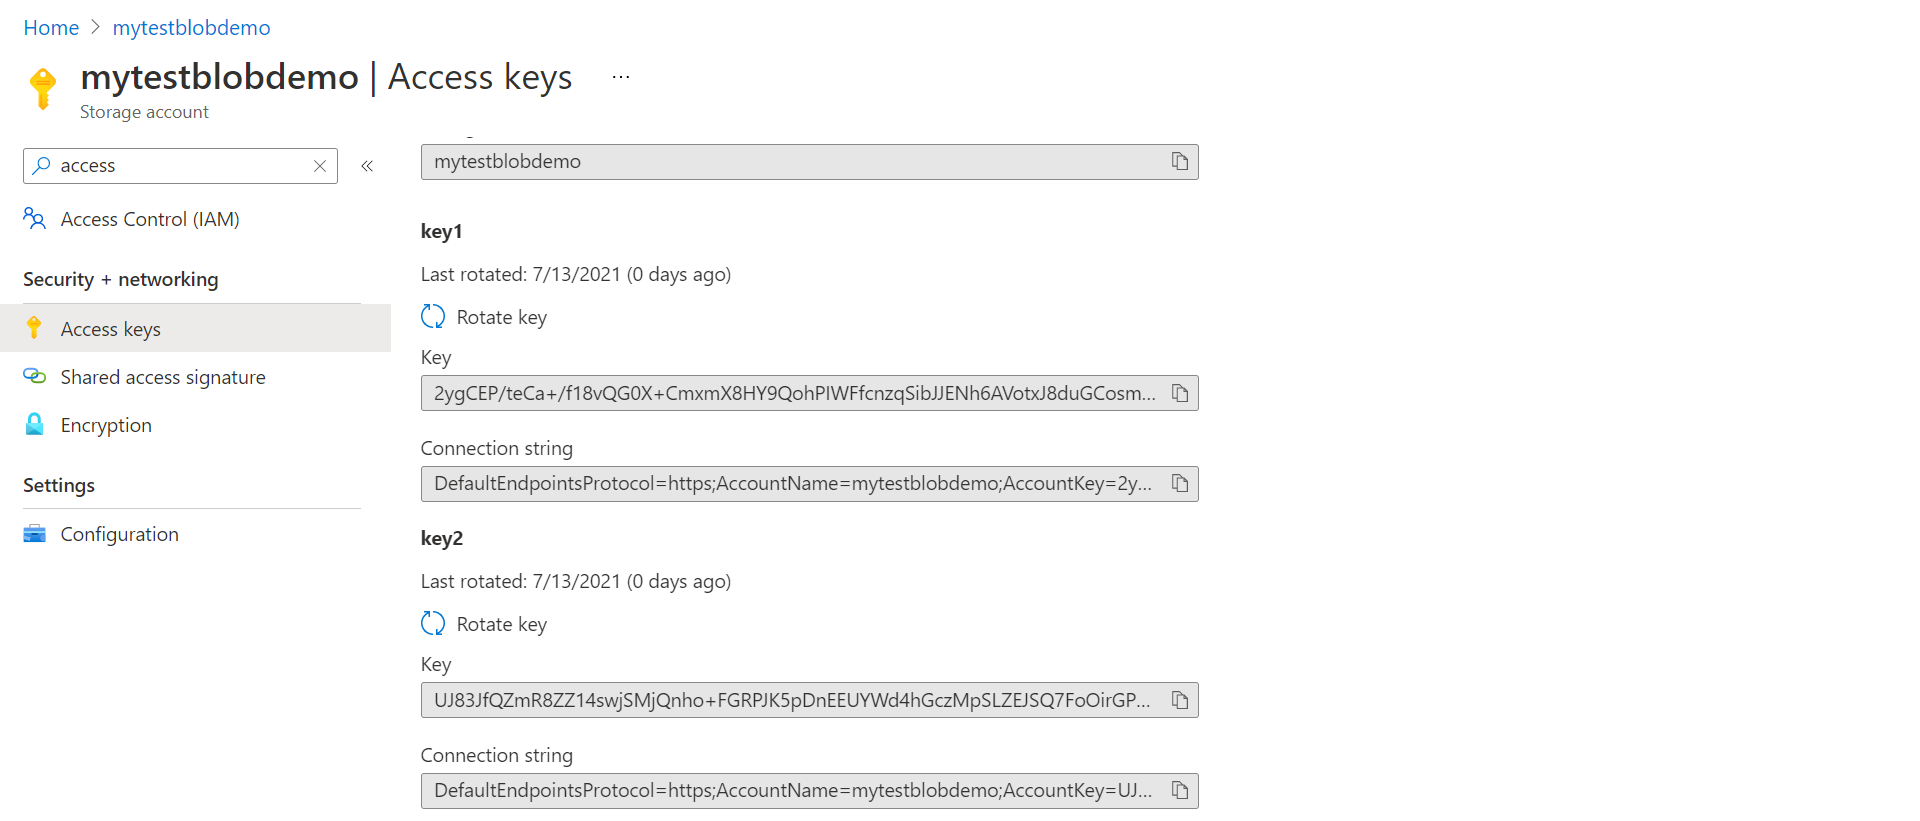
After successfully adding a file in the container, click on ‘Access Keys’ as depicted in the following figure. Save Key 1 and Key 2 details in a notepad file for later use. We will need these keys to access the container and file created in the previous steps.
Create a .NET Console Application to Access Azure Storage Files
To begin, open Visual Studio and create a console application. Then, complete the instructions in the following link to add Azure.Storage.Files.Shares NuGet Package in your project.
Add the following connection string of the Azure file share you noted earlier in the App.config file. Don’t forget to add the local file share path too.
Refer to the following App.config code snippet:
<Code>
<connectionStrings>
<add name=“StorageConnection“ connectionString=“DefaultEndpointsProtocol=https;AccountName=mytestblobdemo;AccountKey=
UJ83JfQZmR8ZZ14swjSMjQnho+FGRPJK5pDnEEUYWd4hGczMpSLZEJSQ7FoOirGPbAvsGnwCMB0GLTmTYraoMw==;EndpointSuffix=core.windows.net“ />
</connectionStrings>
<appSettings>
<add key=“FilePath“ value=“\\ComputerName\ShareName“/>
</appSettings>
</Code>
Now, add the following code snippet in your Program.cs file to upload files from your local system to Azure file share created in the previous steps. Run the <i>Console App</i> and <i>Test</i> after you add the .Net code.
<Code>
using Azure;
using Azure.Storage.Files.Shares;
using System.Configuration;
using System.IO;
namespace PrjCreateShareToUploadFile
{
class Program
{
static void Main(string[] args)
{
string myconnectionString = ConfigurationManager.ConnectionStrings[“StorageConnection”].ConnectionString.ToString();
string myshareName = “Mysampleshare”;
string mydirName = “Mysampledir”;
string myfileName = “Mysamplefile”;
string localFilePath = @ConfigurationManager.ConnectionStrings[“FilePath”].ConnectionString.ToString();
// Get a reference to a share and then create it
ShareClient myshare = new ShareClient(myconnectionString, myshareName);
myshare.Create();
ShareDirectoryClient directory = myshare.GetDirectoryClient(mydirName);
directory.Create();
ShareFileClient myfile = directory.GetFileClient(myfileName);
FileStream stream = File.OpenRead(localFilePath);
myfile.Create(stream.Length);
myfile.UploadRange( new HttpRange(0, stream.Length), stream);
}
}
}
</Code>
Now, add the following code snippet in your Program.cs file to upload files from your local system to Azure file share created in the previous steps. Run the Console App and Test after you add the .Net code.
using Azure;
using Azure.Storage.Files.Shares;
using System.Configuration;
using System.IO;

namespace PrjCreateShareToUploadFile
{
    class Program
    {
        static void Main(string[] args)
        {
            string myconnectionString = ConfigurationManager.ConnectionStrings["StorageConnection"].ConnectionString.ToString();
            string myshareName = "Mysampleshare";
            string mydirName = "Mysampledir";
            string myfileName = "Mysamplefile";
            string localFilePath = @ConfigurationManager.ConnectionStrings["FilePath"].ConnectionString.ToString();
            // Get a reference to a share and then create it
            ShareClient myshare = new ShareClient(myconnectionString, myshareName);
            myshare.Create();
            ShareDirectoryClient directory = myshare.GetDirectoryClient(mydirName);
            directory.Create();
            ShareFileClient myfile = directory.GetFileClient(myfileName);
            FileStream stream = File.OpenRead(localFilePath);
            myfile.Create(stream.Length);
            myfile.UploadRange( new HttpRange(0, stream.Length), stream);
        }
    }
}
To download files from Azure file share you can copy and paste the following code snippet. Run the Console App and Test download functionality once you do:
using Azure;
using Azure.Storage.Files.Shares;
using Azure.Storage.Files.Shares.Models;
using System.Configuration;
using System.IO;


namespace PrjCreateShareToUploadFile
{
    class Program
    {
        static void Main(string[] args)
        {
            string myconnectionString = ConfigurationManager.ConnectionStrings["StorageConnection"].ConnectionString.ToString();
            string myshareName = "Mysampleshare";
            string mydirName = "Mysampledir";
            string myfileName = "Mysamplefile";
            string localFilePath = @ConfigurationManager.ConnectionStrings["FilePath"].ConnectionString.ToString();

            ShareClient myshare = new ShareClient(myconnectionString, myshareName);
            ShareDirectoryClient directory = myshare.GetDirectoryClient(mydirName);
            ShareFileClient file = directory.GetFileClient(myfileName);
            // Download the file
            ShareFileDownloadInfo download = file.Download();
            FileStream stream = File.OpenWrite(localFilePath);
            download.Content.CopyTo(stream);
        }
    }
}
The Following code snippet shows an asynchronous call to Azure file share download functionality using .Net:
            string myconnectionString = ConfigurationManager.ConnectionStrings["StorageConnection"].ConnectionString.ToString();
            string myshareName = "Mysampleshare";
            string mydirName = "Mysampledir";
            string myfileName = "Mysamplefile";
            string localFilePath = @ConfigurationManager.ConnectionStrings["FilePath"].ConnectionString.ToString();

            ShareClient share = new ShareClient(myconnectionString, myshareName);
            ShareDirectoryClient directory = share.GetDirectoryClient(mydirName);
            ShareFileClient file = directory.GetFileClient(myfileName);
            //Async file download
            ShareFileDownloadInfo download = await file.DownloadAsync();
            using (FileStream stream = File.OpenWrite(localFilePath))
            {
                await download.Content.CopyToAsync(stream);
            }
Conclusion of Azure Storage Account File Shares Tutorial
In this article, we discussed how to upload – and download – a file in Azure File Storage using a .NET application. See you back soon for more Azure and .Net programming tutorials!