

Microsoft Visual Studio allows you to develop, edit, build, and run functions in a local development environment. Using Visual Studio, a developer can publish a functions project directly to Azure. At the same time, we can use C# attributes to declare function bindings directly in the C# code itself.
In this article, I will walk you through creating a new Azure Function App from within Visual Studio and show you how to publish it in Azure subscription. We will be using Visual Studio 2019 to create the Azure Function.
How to Create an Azure Function project in Visual Studio
Before we get started, the following are the prerequisites to setup the Visual Studio development environment:
- Visual Studio Community edition
- Azure Free Subscription
- Azure SDK for Visual Studio
- Azure Functions Tools Azure Storage Account
Make sure you have these prerequisites in place before we begin.
Developers can use the Azure Functions project template in Visual Studio to create a project and publish it to a function app in Azure. To do so, follow these steps:
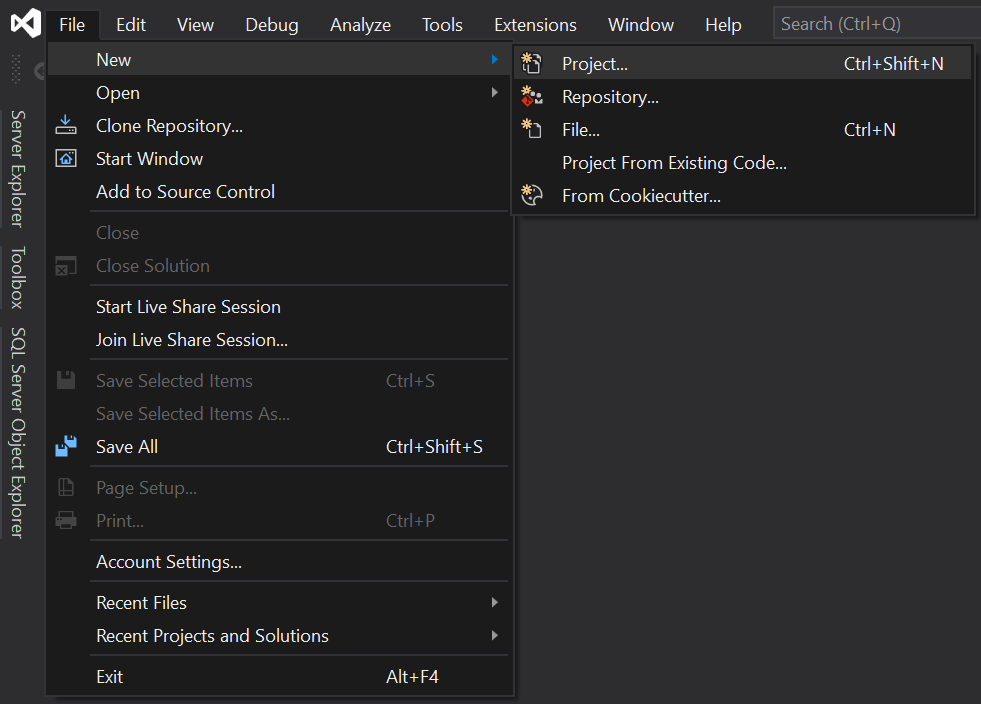
Step 1 – From the Visual Studio menu, select File > New > Project. Refer to figure 1 for more information:
Step 2 – In the “Create a New Project” screen, enter “function” in the search box, choose the “Azure Functions” template, and then select “Next” as shown in figure -2.

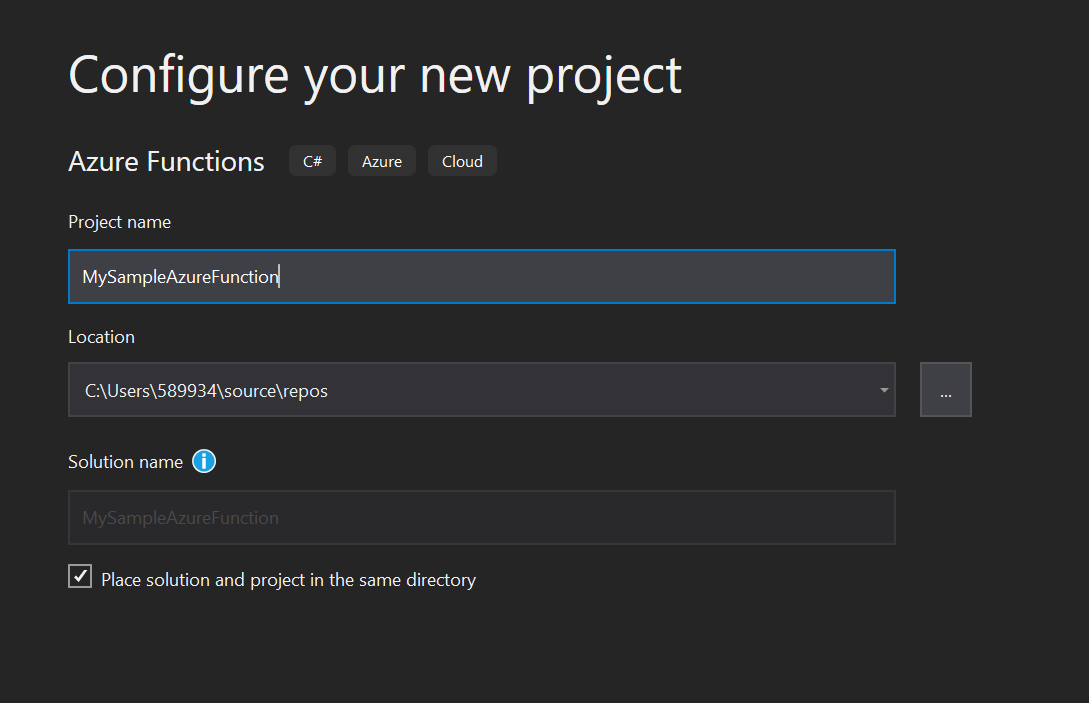
Step 3 – Next, in the “Configure Your New Project” page, enter a project name for your project, and then select “Create”. Refer to figure -3 to make sure you have selected everything properly.
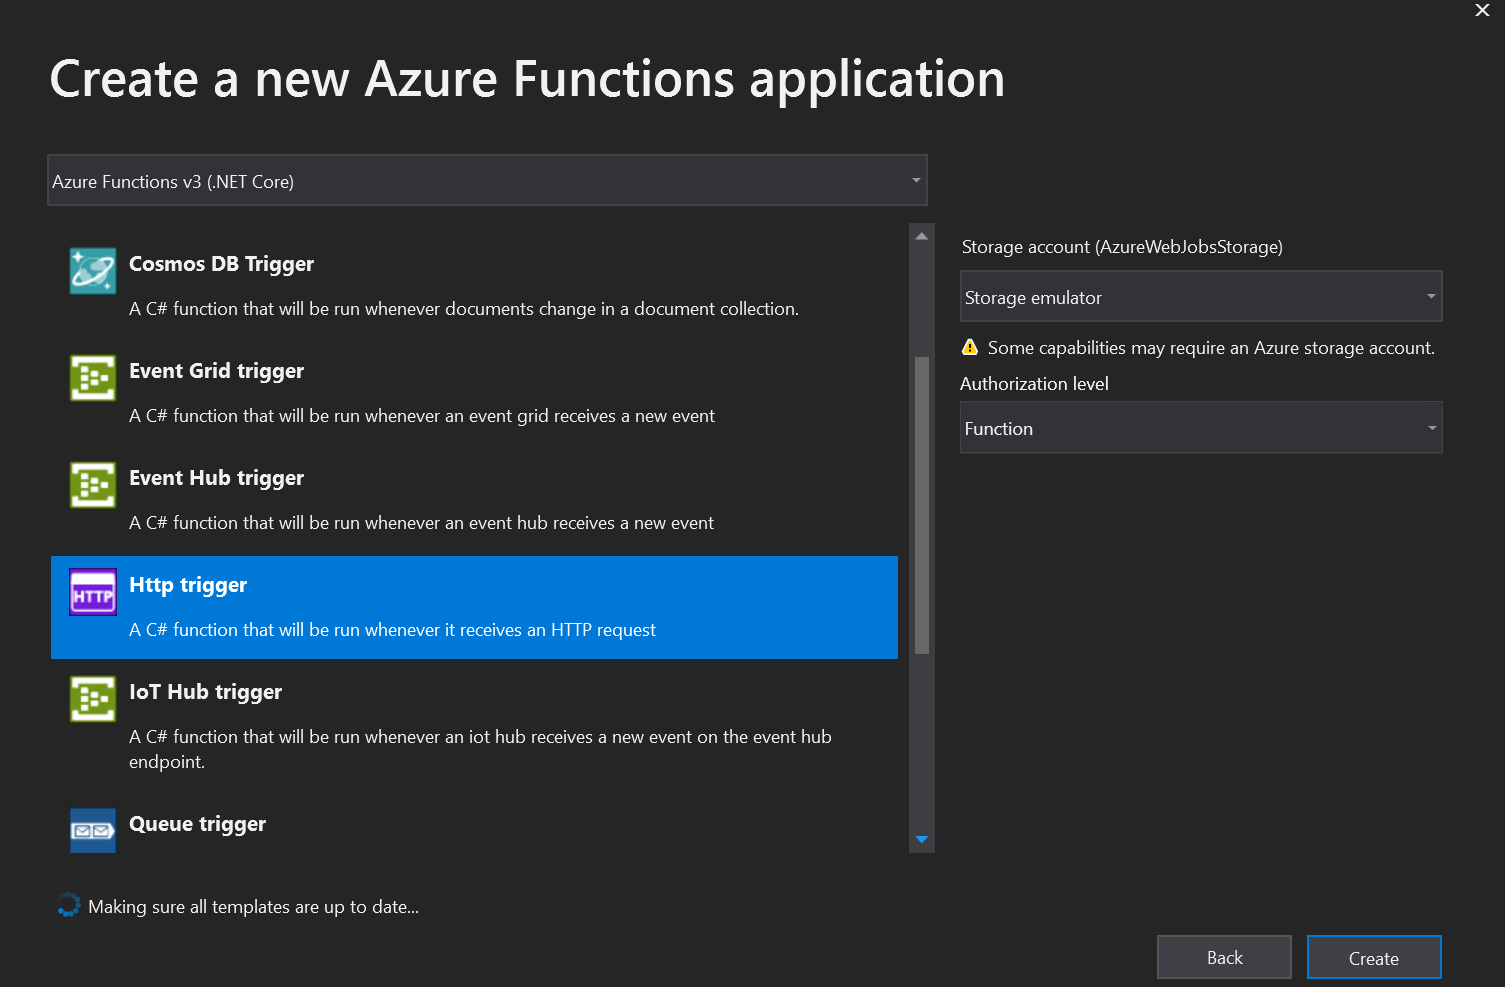
Step 4 – Select “HTTP Trigger” from “Function template”. This value creates a function triggered by an HTTP request. Make sure you set the “Authorization” level to “Anonymous”. Next, select “Create” to create the function project and HTTP trigger function, as seen in figure – 4.
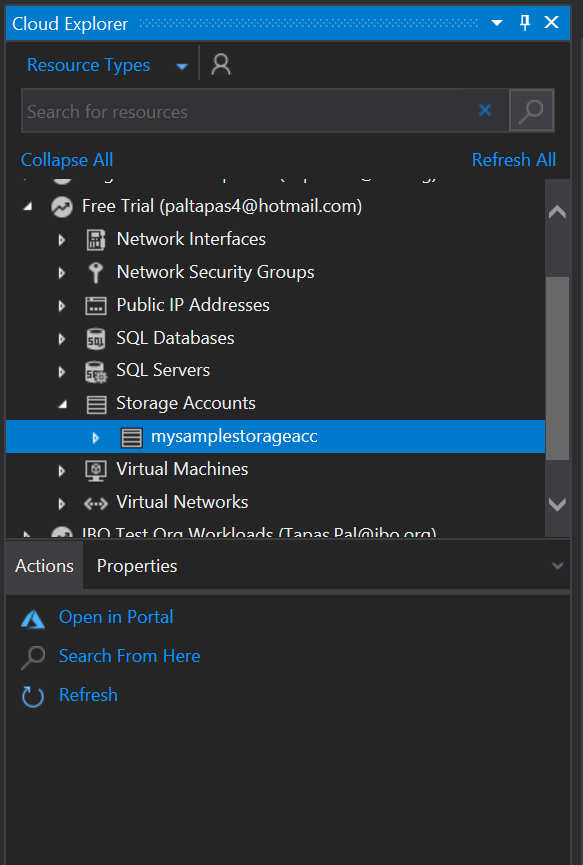
Step 5 – Azure Function requires a storage account; one is assigned or created when you publish your project to Azure. I have already created an Azure Storage account, but if you have not, please do so before this step. After you have created your account, open Azure cloud explorer, shown here:
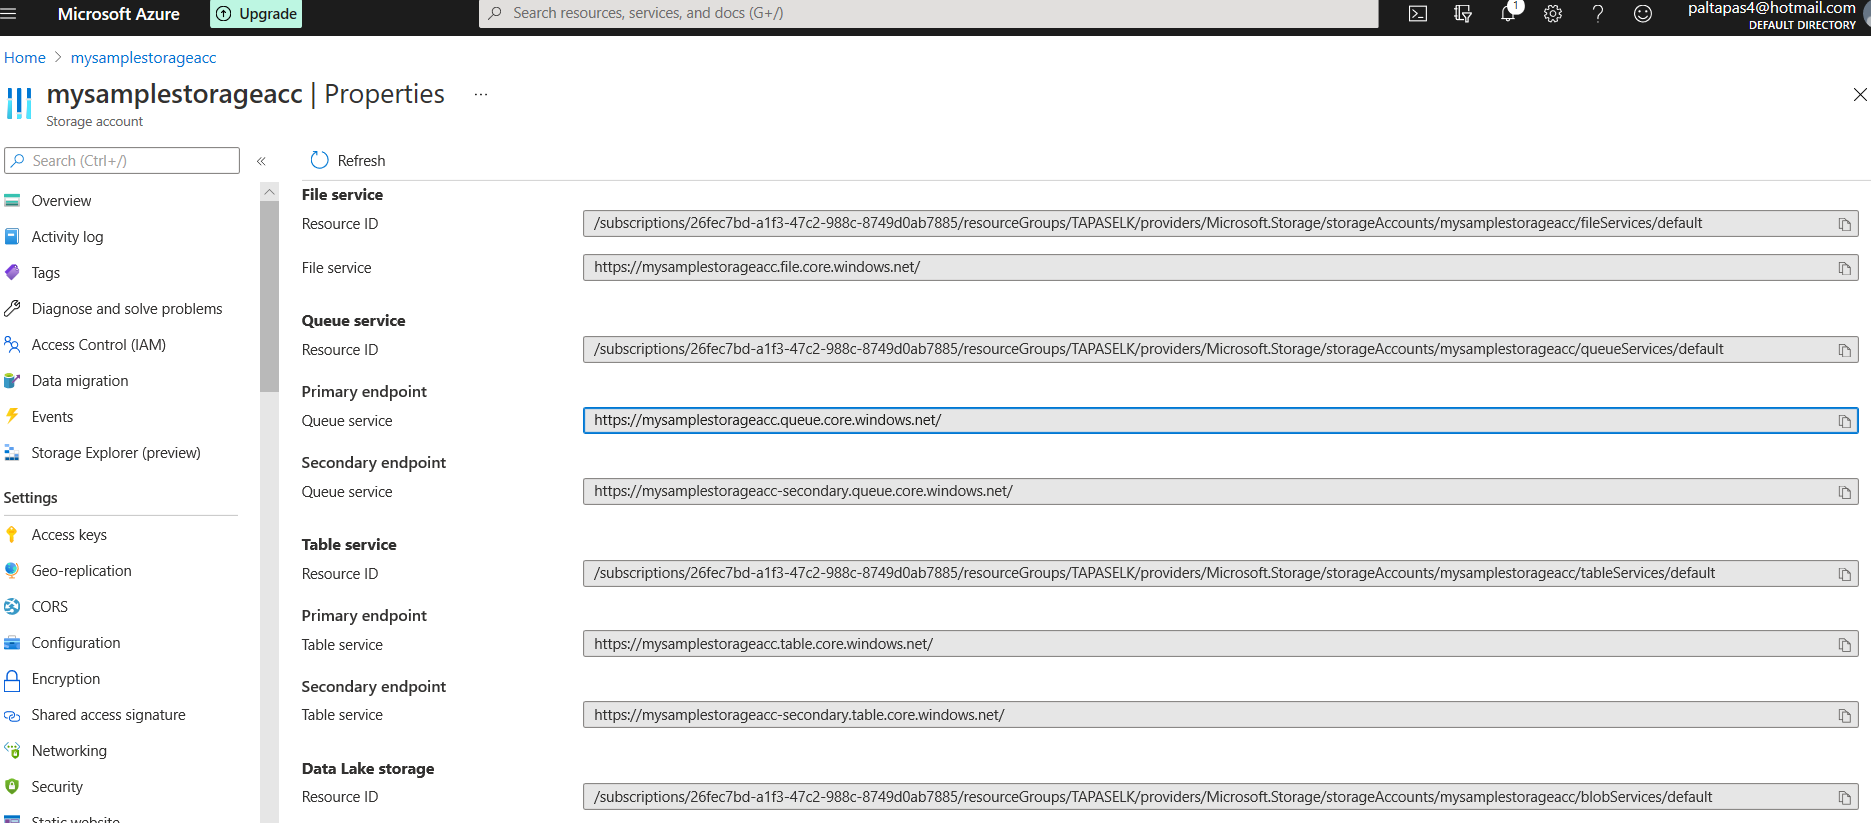
Step 6 – As seen in figure – 6, I have created “mysample” storage for Azure function:
Step 7 – The Azure functions runtime uses an Azure Storage account internally. For all trigger types and webhooks, set the Values.AzureWebJobsStorage key to a valid Azure Storage account connection string.
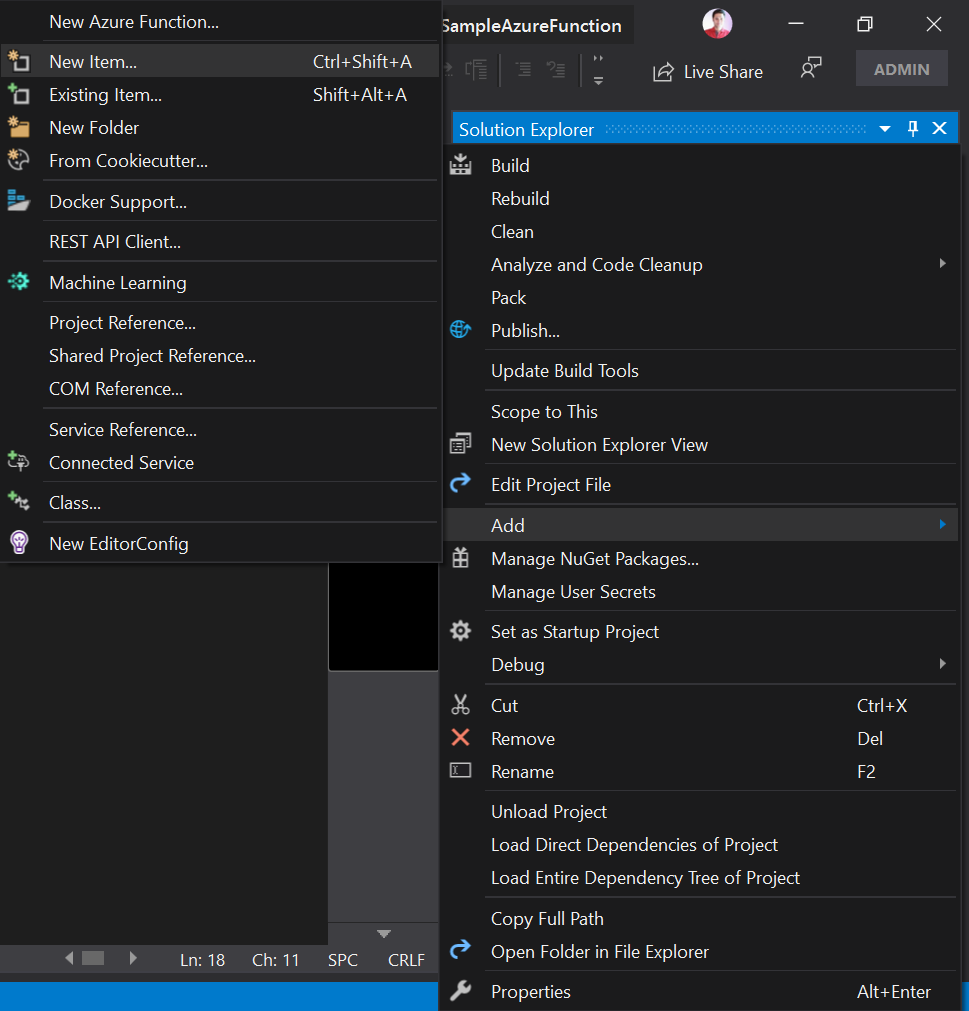
Step 8 – Next, In Solution Explorer, right-click your project node and select Add > New Item.
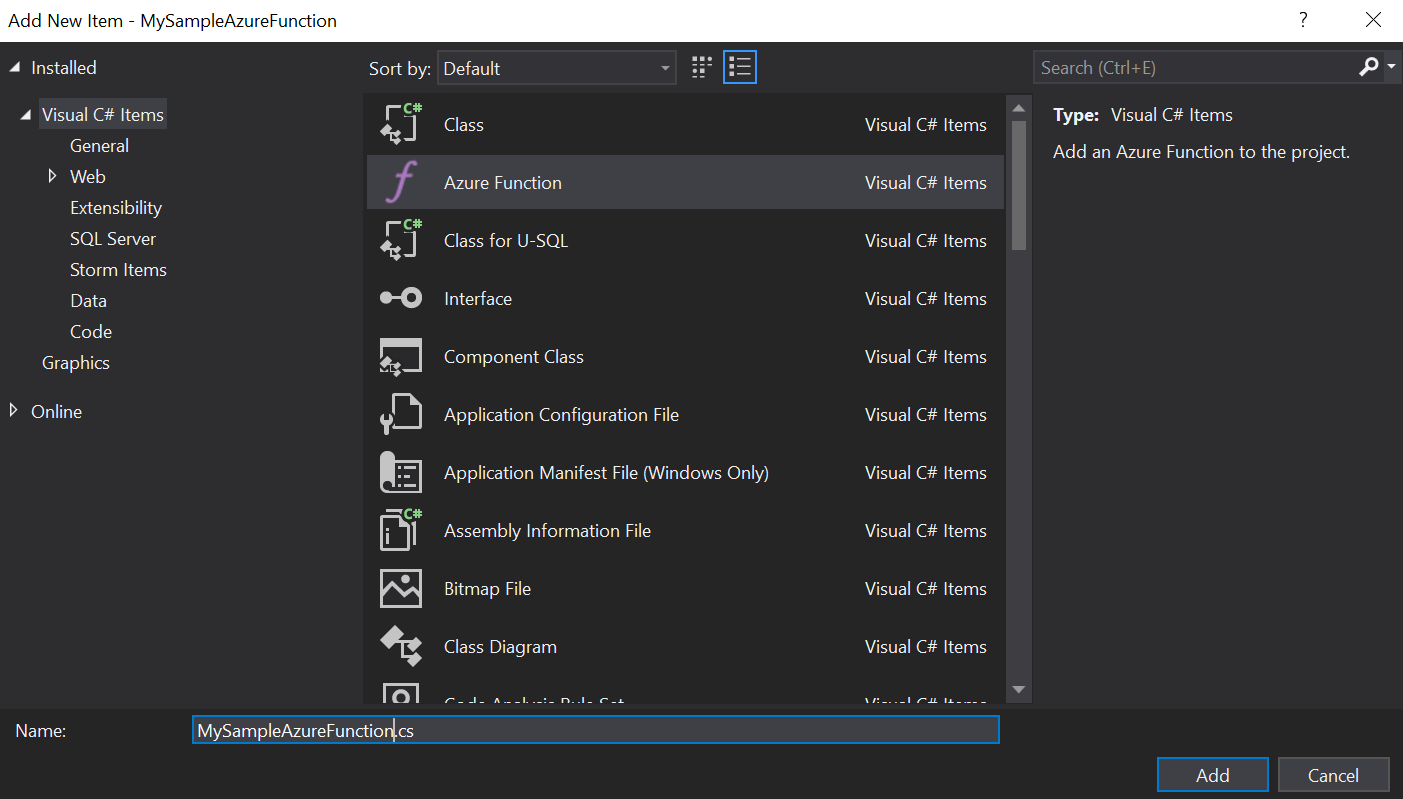
Step 9 – Select Azure Function, enter a “Name” for the class, and then select “add”.
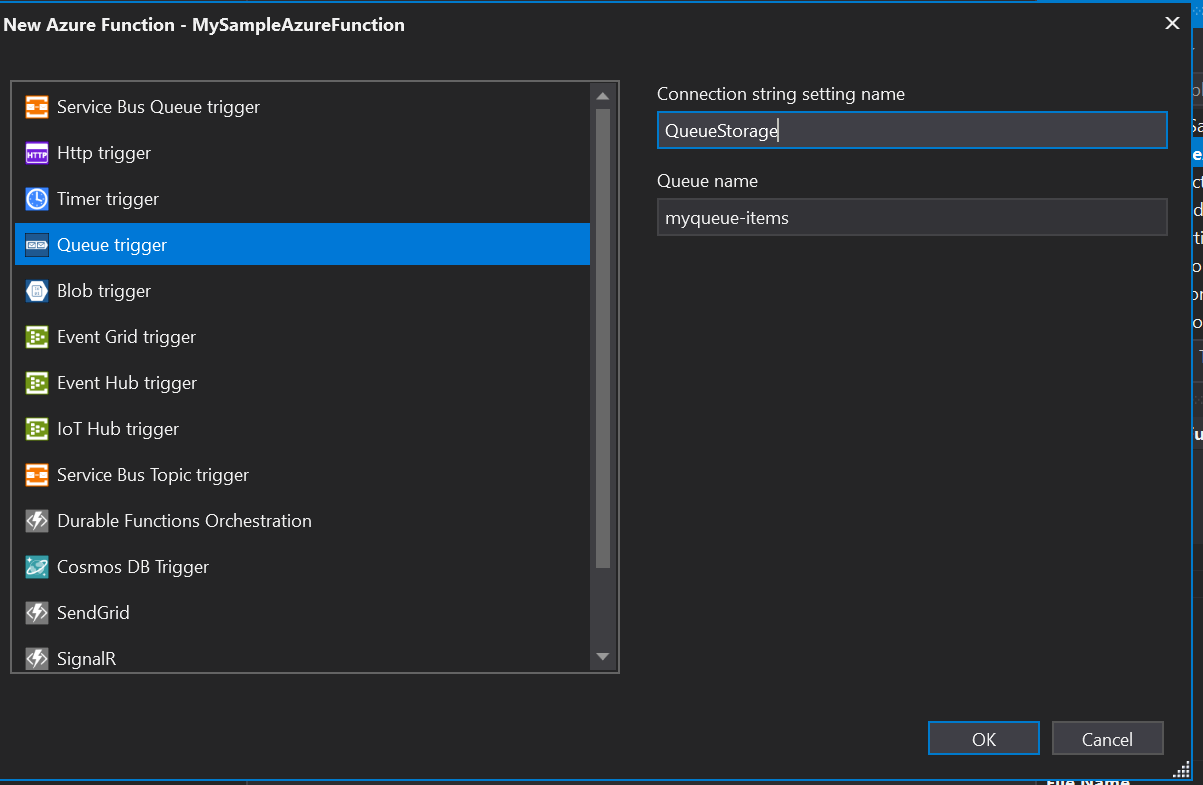
Step 10 – Next, choose “trigger”, set the binding properties, and then select “OK”. The following example shows the settings for creating a queue storage trigger function:
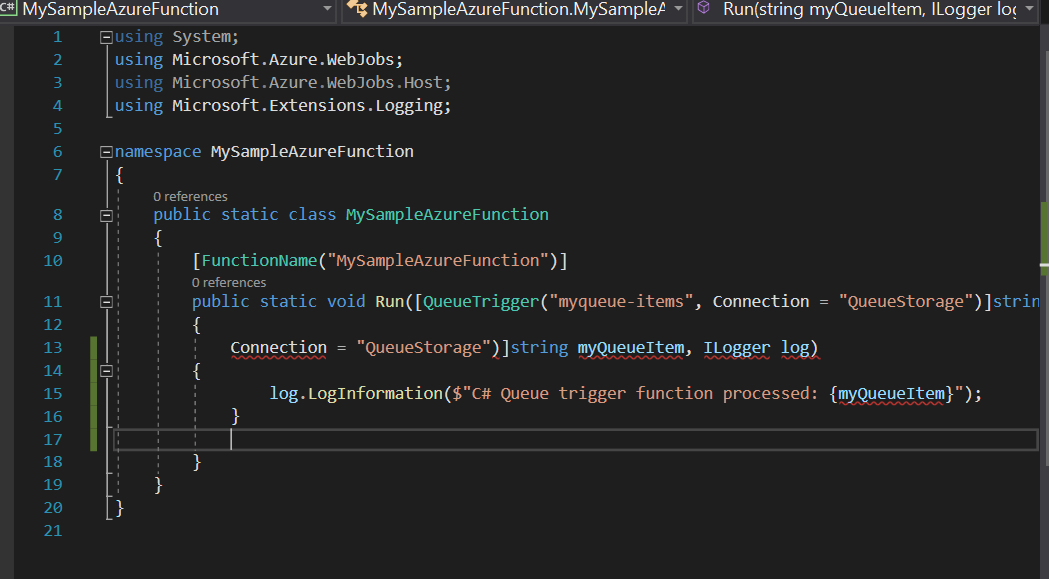
Step 11 – Next, “Refer” the newly added class in Visual Studio. A static Run() method has an attribute with the FunctionName. The following C# class represents a basic Queue storage trigger function:
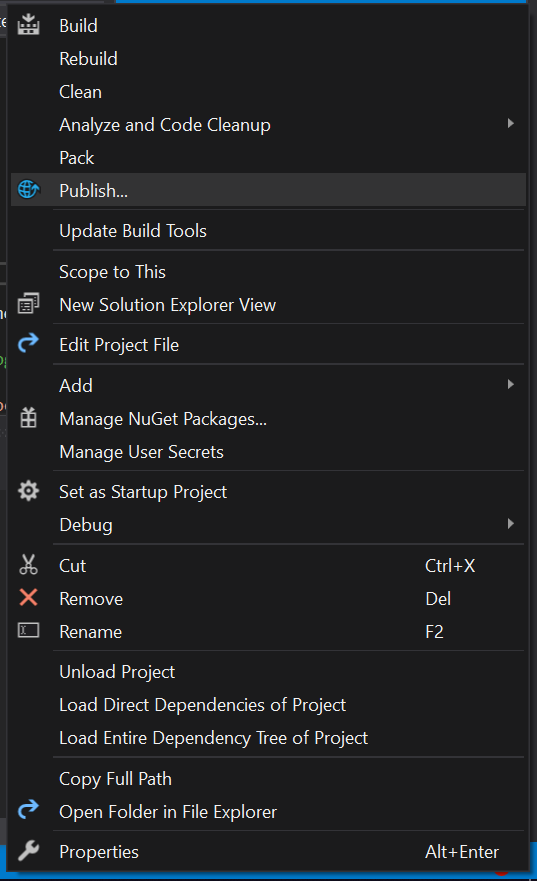
Step 12 – Next, you have to publish the project to a function app in Azure. To publish from Solution Explorer, right-click the project and select “Publish”.
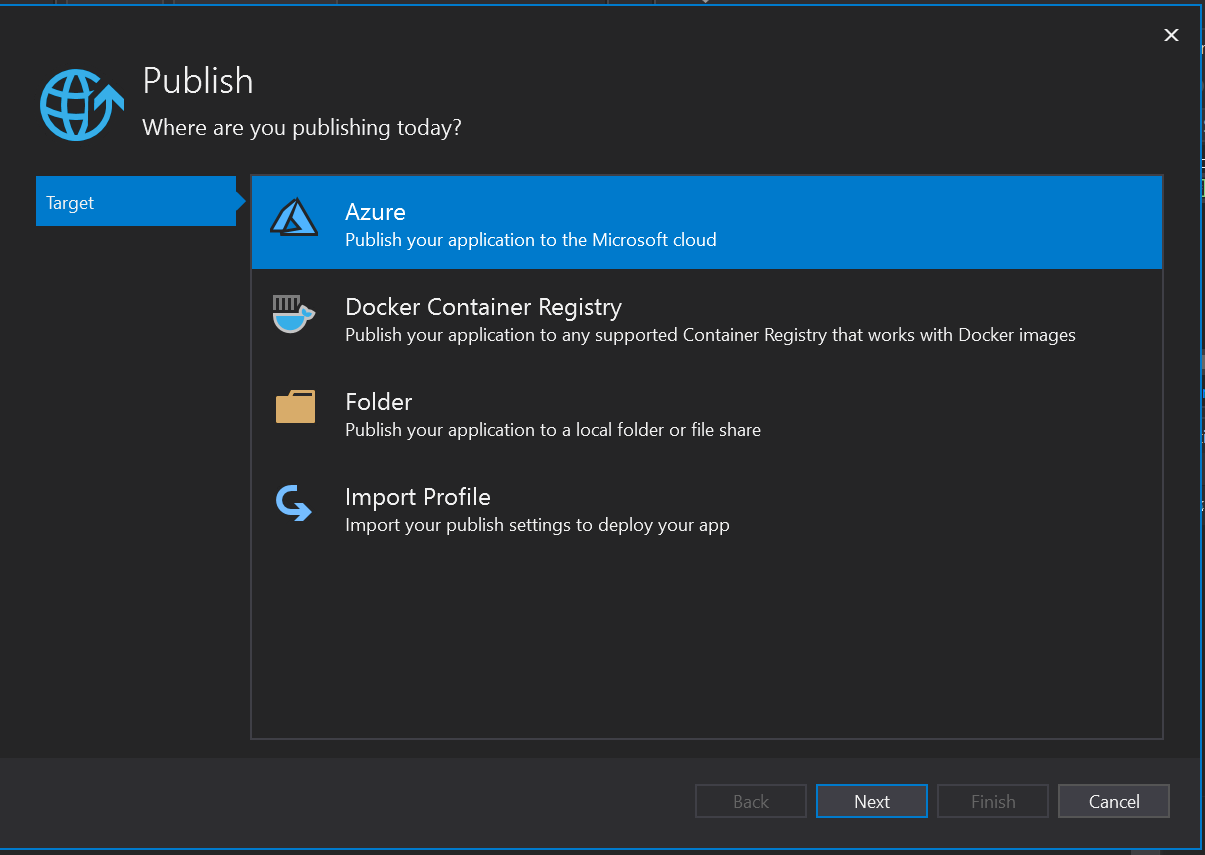
Step 13 – Select “Azure”, then click “Next”.
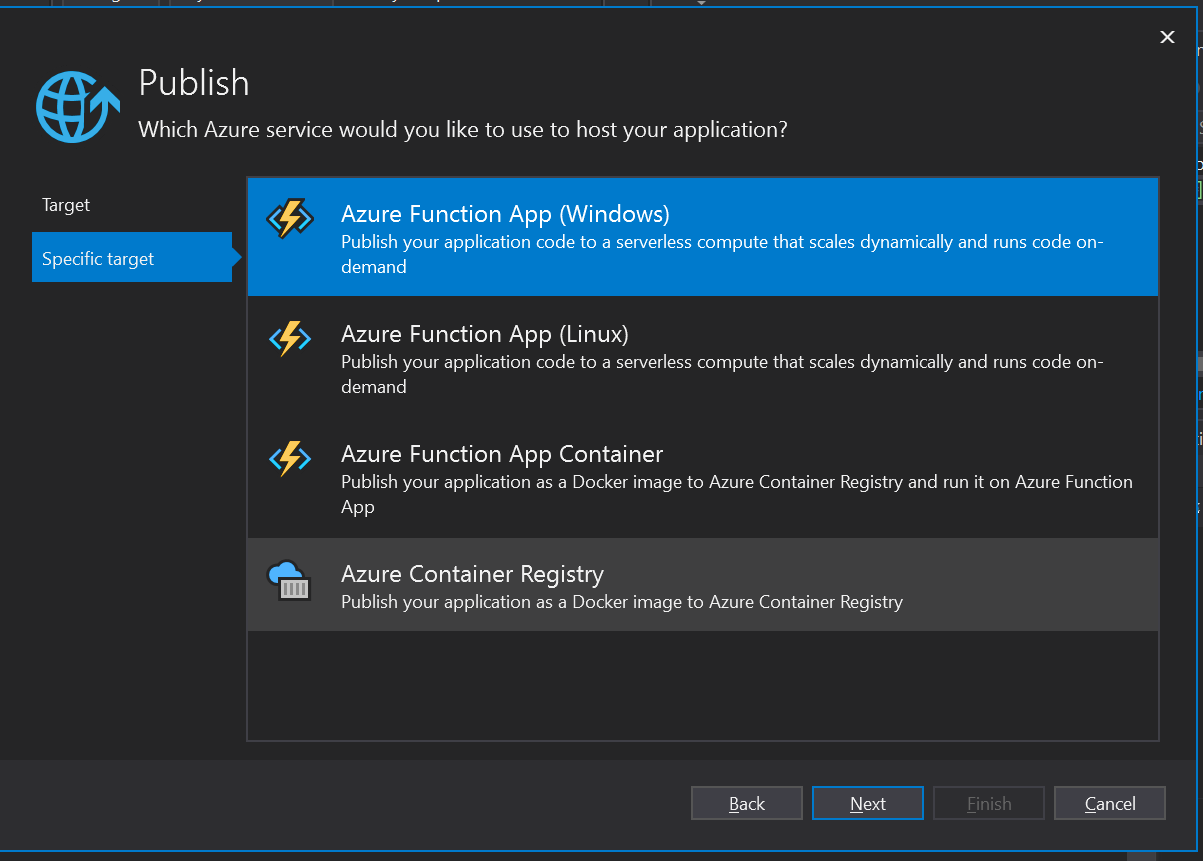
Step 14 – Then, for the “Specific Target”, choose “Azure Function App (Windows)”.
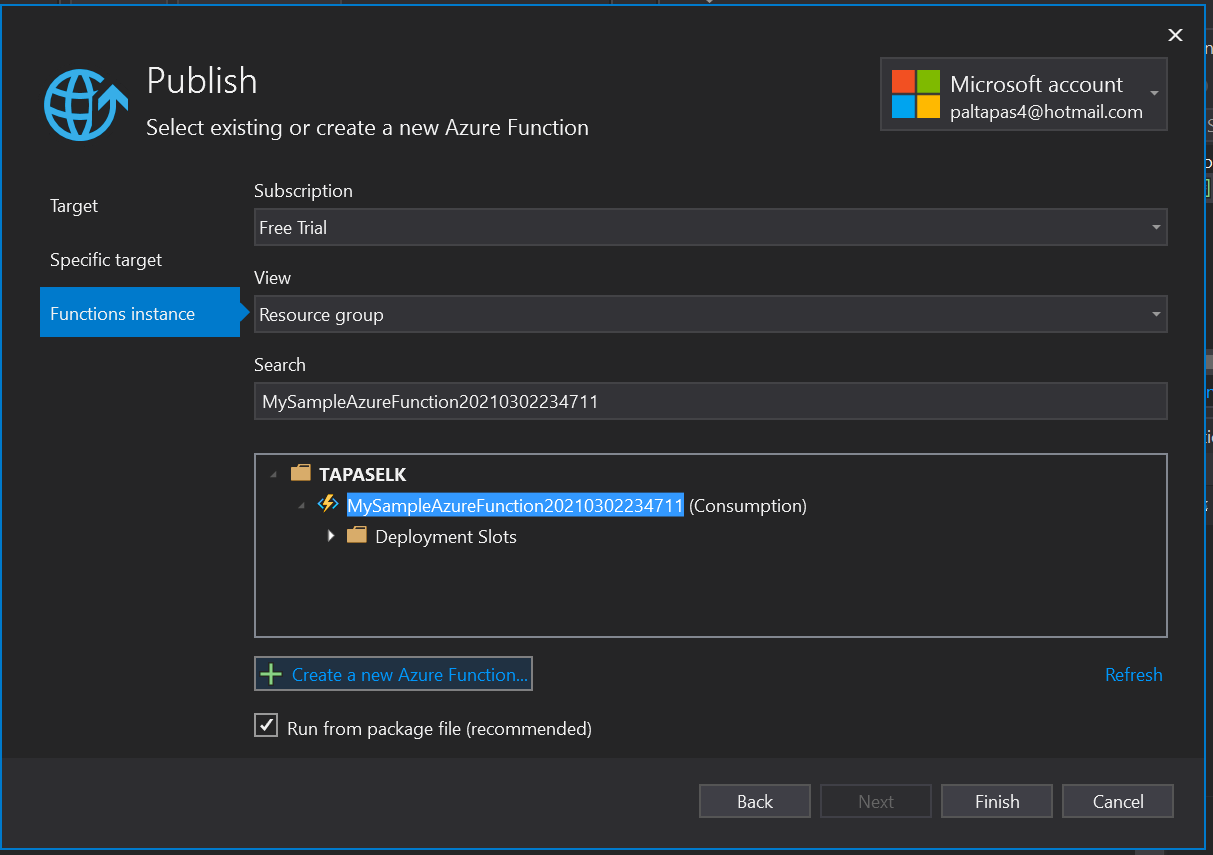
Step 15 – Next, create a new Azure Function.

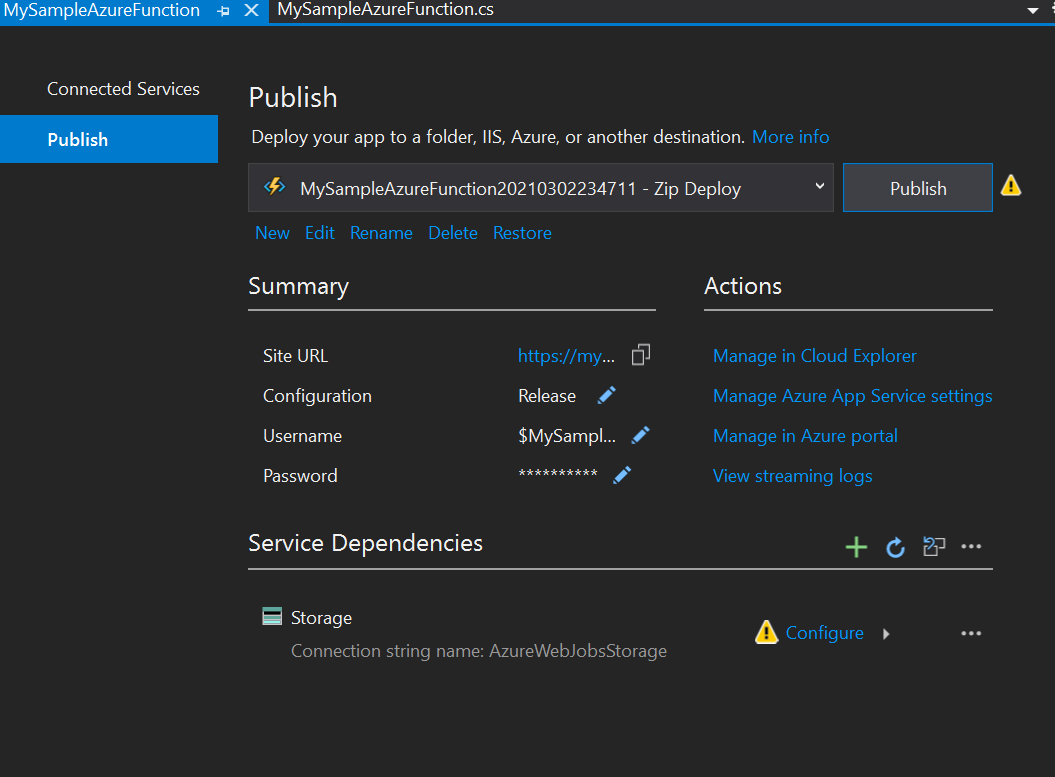
Step 16 – Finally, publish your newly created Azure function.
After successfully publishing your function, the following screen will be displayed:
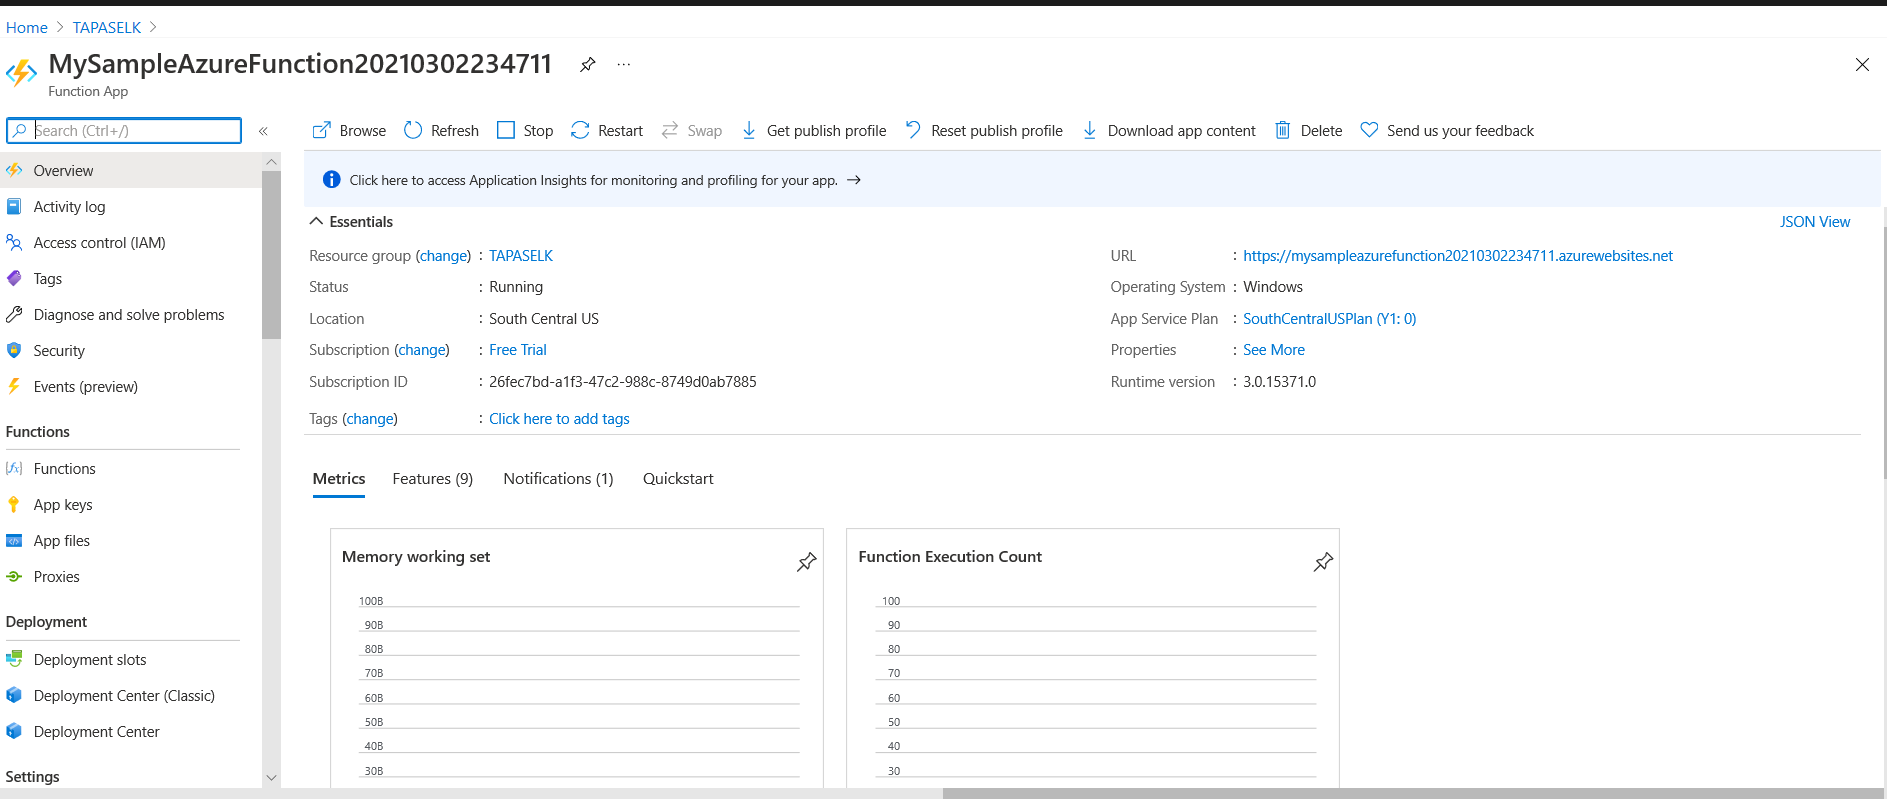
In Azure portal, the following Azure function will be created:
I hope this article was helpful for developers looking to create and publish an Azure Function using Visual Studio 2019. Note that developers can monitor the execution functions by integrating a function app with Azure Application Insights. Happy reading!