

In this tutorial you are going to learn how to get your
Microsoft WPF (Windows Presentation
Foundation) application to open in its last location
before it was closed. You are going to do this using VB.NET code and application
settings.
- Create a new WPF application project. Ensure that it is
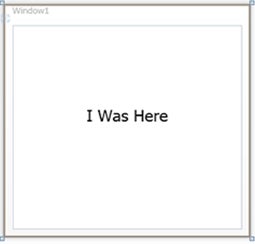
a Visual Basic project type. Name it ‘Location’. - Once your project is created place a Label control in
the window and change its Content property to “I was Here”. - Change the TextSize property of the label in the Text
section of the properties window to 20. Resize the label if
you need to to make the text visible and drag the label
until it is at about the center of the window. - Select Window1 and in the
CommonProperties
section of the Properties window ensure that the
WindowStartupLocationis set to Manual. - Right click on the Location project in the Solution
Explorer and select properties from the context menu or
double click theMyProjectfile in the project
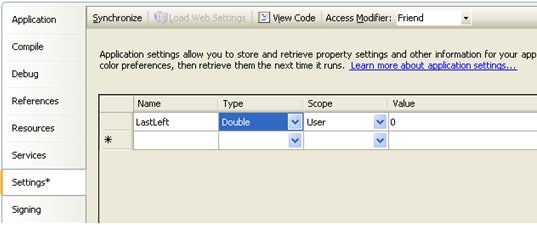
tree. This opens the properties window. - Select the Settings tab. Notice that there is a default
setting that is already present. Right click inside the
first cell and select ‘Add Setting’ from the context menu.
The default text is selected. Type in the text
‘LastLeft‘. - Select double from the Type dropdown list and leave the
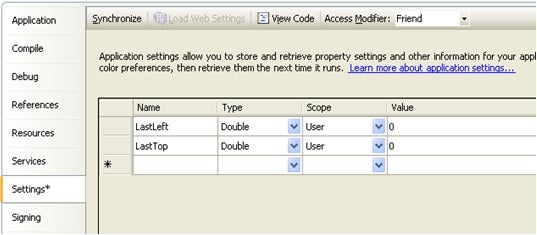
Scope as user. Leave the Value cell as is. - In the second row type ‘
LastTop‘ in the
Name section and select a Type of Double. Leave the Scope
and Value section as default. Save your work. - Double click on Window1.xaml.vb in the project tree to
open the code behind file. - Select ‘Window1 Events’ from the
ClassNamecombo box and the
Closing event from theMethodNamecombo box. - In the Window1_Closing event procedure type the
following code; - Select Window1 Events from the
ClassNamecombo box and the
Loaded event from theMethodNamecombo box. Type in the
following code in theWindow1_Loadedevent
procedure. - Run the application by pressing F5 or by clicking on the
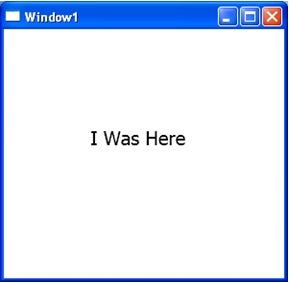
Start Debugging button. - Drag the window to a different part of your screen and
close it. - Run the application again by pressing the F5 key. Notice
that the window opens in the last location where you closed
it.
Now you are going to add some code to make use of the
previously created settings. We will be using the
My.Settings keyword and the Left and Top window properties
which get or set the position of the window’s left and top
edges in relation to the desktop.
     With My.Settings
	.LastLeft = Me.Left
	.LastTop = Me.Top
	.Save()
     End With
Your Window1 class should now look like this;
  	  Class Window1
      		Private Sub Window1_Closing(ByVal sender As Object, _
  	 	  ByVal e As System.ComponentModel.CancelEventArgs) _
  	 	  Handles Me.Closing
         		With My.Settings
             		    .LastLeft = Me.Left
              	            .LastTop = Me.Top
              	            .Save()
          		End With
      		End Sub
  	   End Class
Me.Left = My.Settings.LastLeft
Me.Top = My.Settings.LastTop
Click on the Save All button or press Ctrl+Shift+S
Using My.Settings.Save ( ) allows us to persist the application settings when Window1 is closed. This ensures that the window will open in the last location where it was closed since we set the Left and Top properties of Window1 to the LastLeft and LastTop settings in the Window1_Loaded event procedure.
Thanks for reading!