


Introduction
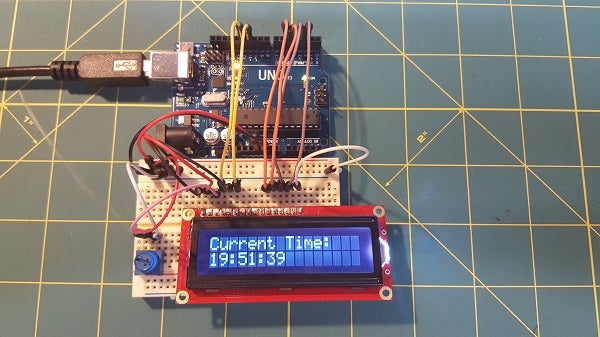
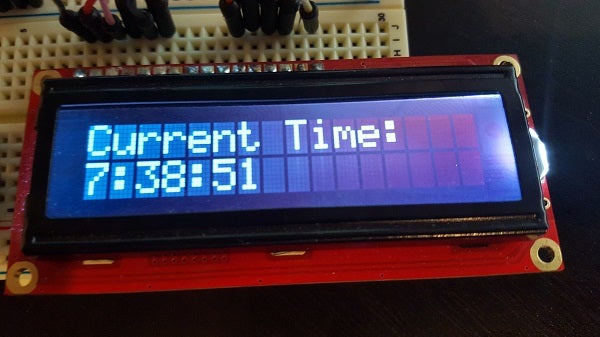
Building a clock with Arduino is easier than you think. All you need to get started is an Arduino prototyping board and some type of display, preferably one with at least eight characters. I will be using an Arduino Uno board with a Sparkfun 16×2 LCD display. To set the time on the Arduino, we will be sending a Unix Timestamp over serial using the Arduino IDE Serial Monitor.
Shopping List
You will need the following items for this project. They are all readily available at any hobby shop or online.
- 1 Arduino Uno
- 1 16×2 Character LCD Display
- 1 Breadboard
- 1 USB Cable
- 1 Potentiometer
- 1 220 Ohms Resistor
- Several Jumper Wires
Arduino Circuitry
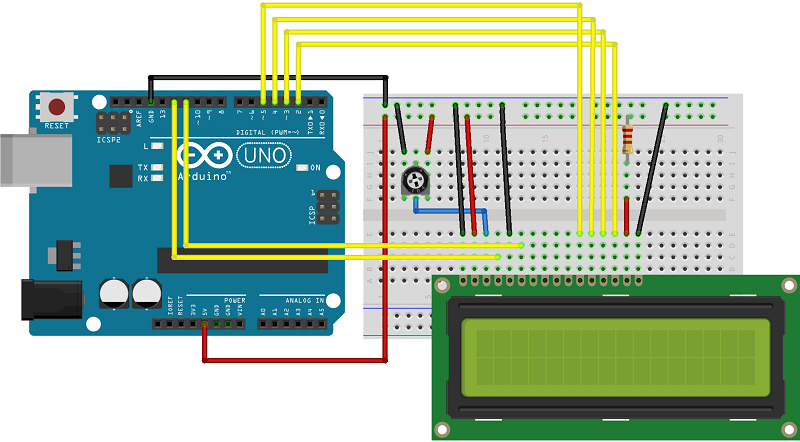
Look at the wiring diagram below to connect the LCD display with the Arduino Uno. It may look a little confusing, but it is very straight forward. Six jumper wires are connected from pins on the display to the Arduino headers. Ground is connected three times on the display; +5v once, and 220Ohms +5v are connected once.
The potentiometer is connected to Ground and +5v with the middle pin connected to the 3rd pin from the left on the display. The potentiometer is used to control the contrast of the display to make the characters readable.
The display should be connected to pins 2, 3, 4, 5, 11, and 12 on the Arduino.
Arduino Code
There are two different libraries we will use for this project. One is the LiquidCrystal Library that comes packaged with the Arduino IDE. The second library is the Time Library created by Michael Margolis. As the two names imply, LiquidCrystal will be used to control the display, and Time will be used to keep track of the time.
I will discuss the major parts of the Arduino code; however, check out the download for the entire code file that is full of comments!
Install Time Library
Time Library is not packaged with the Arduino IDE. Download the library from

Now What?
Congrats on creating your first Arduino Clock! But, now what? Now that you know how to tell time with Arduino, you can create smarter Internet of Everything (IoE) devices that are aware of the time. Automate the blinds in your house to open and close at a certain time of day. Create something with a bang that will really get people’s attention!
References / Resources
- http://playground.arduino.cc/Code/Time
- http://www.pjrc.com/teensy/td_libs_Time.html
- https://www.sparkfun.com/products/709
- http://www.epochconverter.com/
# # #