

Many times in life one has to Excel 2 Win!
This tutorial presents a simple sample demonstrating how to get access to data copied from a Microsoft Excel Sheet and present the same in a DataGrid control within a Windows Form Application.
This is increasingly becoming quite a popular request amongst users because many have traditionally used Microsoft Excel as their primitive data store. Any automation effort will face requests from users to optionally allow them to copy the Excel data directly into the application using the neat old copy/paste sequence that they are so used to!
The sample is intended to serve as a good starting point to customize it to one’s requirements.
To jump straight into action, here is a list of the typical sequence of action that needs to be carried out within the Windows Application, assuming the copied Excel data is being held in the Clipboard:
- Access & extract the Clipboard data
- Format the data into a DataGrid control bindable form
- Bind the data to the DataGrid control
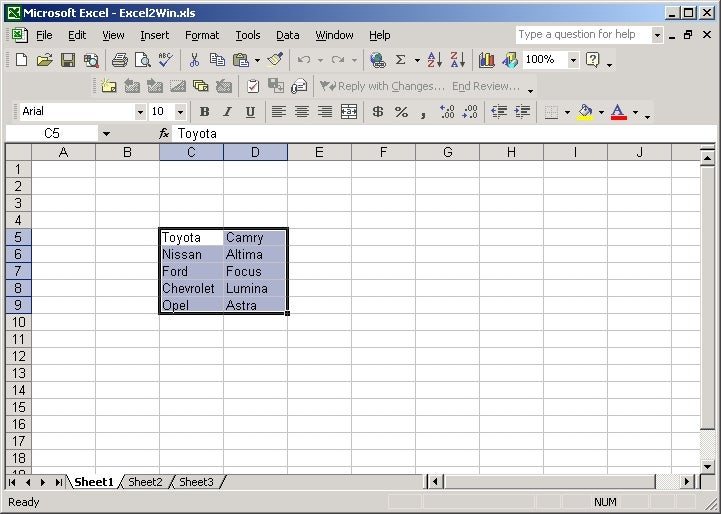
Figure 1: Sample Data in an Excel Sheet
Simple, right?
Well, there is still some work that needs to be done, but the good part is the effort is not more than 15 minutes of your time!
First, here is some information on the important .NET Framework Classes that we would befriend during the course of this sample:
- Clipboard: Nothing can be easier that this. .NET provides access to the Clipboard by using a Class, not surprisingly, called Clipboard. We would use the Clipboard Class to extract the data contained within it.
- IDataObject: This interface provides a format-independent mechanism for transferring data. We would use this interface to extract and store the Clipboard Excel data.
- DataFormats: This one provides light in the dark. The Class is composed of certain pre-defined format names of data that the Clipboard can hold, such as Comma Separated Values, Html, Bitmap, and so forth. We would use the Class to identify Excel data extracted in an IDataObject.
With friendly Classes in the pocket, let us start looking at the meaty part now.
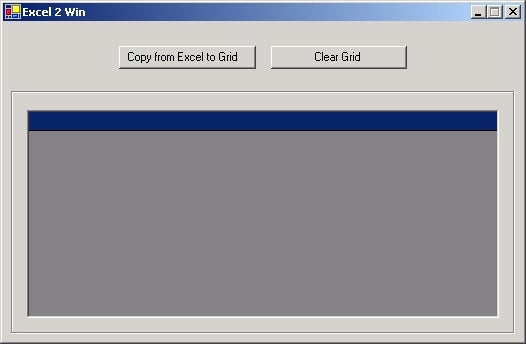
Figure 2: The Sample Application User Interface
Access & Extract the Clipboard Data
Firstly, we need to peek into the Clipboard and extract its content into a container object. For this, we use the GetDataObject method of the Clipboard Class and contain it as an IDataObject.
Dim objPresumablyExcel As IDataObject = Clipboard.GetDataObject()
Next, we need to make a quick check whether the data is indeed Excel data. Excel data is represented as Comma Seperated Values in the Clipboard, with line breaks between two rows of data. Hence, we make use of the GetDataPresent method of the IDataObject by passing it the predefined format name CommaSeperatedValue of the DataFormats Class to do the verification.
If (objPresumablyExcel.GetDataPresent(DataFormats. _
   CommaSeparatedValue)) Then
   …
   …
   …
End If
Format the Data into a DataGrid Control Bindable Form
The data is raw and we need to format it into a form or object that can be bound to a DataGrid control. The sample uses the DataTable object to bind to the DataGrid control.
Dim tblExcel2WinData As New DataTable
Now, there are many ways in which you can treat and format the data. For the purpose of the sample, we would first convert and cast the contents of the IDataObject into a Stream of data that will be contained in an object of the StreamReader Class.
Dim srReadExcel As New StreamReader(CType(objPresumablyExcel. _
    GetData(DataFormats.CommaSeparatedValue), Stream))
The next task would be to read this stream of data one line at a time. A loop is the order of the day.
While (srReadExcel.Peek() > 0)
   …
   …
   …
End While
Within the loop, we need to start replicating the contents of the StreamReader object in a DataTable object. To achieve this, we first extract a row of data in the Stream Reader object into a String variable.
Dim sFormattedData As String
sFormattedData = srReadExcel.ReadLine()
The String variable will now contain the column values for a row of Excel data separated by comma. We split this String variable into an array.
Dim arrSplitData As Array
arrSplitData = sFormattedData.Split(“”)
The number of Array items is equivalent to the number of columns of data copied from the Excel Sheet. We prepare the DataTable to reflect the same number of columns.
If tblExcel2WinData.Columns.Count <= 0 Then
   For iLoopCounter = 0 To arrSplitData.GetUpperBound(0)
      tblExcel2WinData.Columns.Add()
   Next
End If
Finally, we loop the array to add the contents of individual columns into a DataTable Row and add the Row to the DataTable.
Dim iLoopCounter As Integer
Dim rowNew As DataRow
rowNew = tblExcel2WinData.NewRow()
For iLoopCounter = 0 To arrSplitData.GetUpperBound(0)
   rowNew(iLoopCounter) = arrSplitData.GetValue(iLoopCounter)
Next
tblExcel2WinData.Rows.Add(rowNew)
Bind the Data to the DataGrid Control
The copied Excel Sheet data is successfully replicated and contained in the DataTable object. All that remains to be done now is to bind the DataTable object to the DataGrid control.
dgrExcelContents.DataSource = tblExcel2WinData.DefaultView()

Figure 3: The Excel Sheet data in the DataGrid Control
And hey, presto, the Excel Sheet data magically appears in the DataGrid control!