

Synchronous communication between .NET applications and Web services makes the user wait while each Web service processes requests and returns results. This can have a severe impact on the performance of the .NET application. Typically, a distributed .NET application requires information from multiple Web services. If the application performs the entire process of invoking the Web services synchronously, a client must wait not only until every Web service provider is contacted, but also through any connection or service delays.
Asynchronous Web services invocation solves this performance issue and enhances the end user experience by increasing server efficiency. With the introduction of .NET Framework 2.0, Microsoft has greatly enhanced the support for asynchronous Web services invocation by introducing a new event-based programming model. This article examines this new feature and demonstrates how to take advantage of it to create feature-rich and effective .NET applications. It also shows how to perform data binding directly with the results the Web service returns.
Event-Based Asynchronous Programming
Previous versions of the .NET Framework used the BeginInvoke/EndInvoke methods to invoke a Web service asynchronously. Version 2.0 adds a new way to asynchronously invoke Web services: an event-based asynchronous programming model. It enables this new event programming model through the creation of properties and methods on the client proxy class.
To follow the demonstration for implementing this model, you must first create a simple Web service that then can be invoked asynchronously from the client application. The following section walks you through the process.
Create a Simple Web Service
Open Visual Studio 2005 and select New->Web Site from the File menu. In the New Web Site dialog box, select ASP.NET Web service from the list of project templates, and specify the name of the Web service as AsyncWebServices.
Once you have created the Web site, add a new Web service file named HelloService.asmx to the project. If you open the file and view the code, you will find a method named HelloWorld already placed in the code-behind file of the Web service. For the purposes of this example, just utilize this default sample method. Here is the code from the code-behind file of the HelloService:
using System.Web;
using System.Collections;
using System.Web.Services;
using System.Web.Services.Protocols;

[WebService(Namespace = "http://tempuri.org/")]
[WebServiceBinding(ConformsTo = WsiProfiles.BasicProfile1_1,
                   EmitConformanceClaims = true)]
public class HelloService : System.Web.Services.WebService
{
    [WebMethod]
    public string HelloWorld()
    {
        return "Hello World";
    }
}
Note: When you create a Web service through Visual Studio 2005, the code-behind file for the Web service is automatically placed in the App_Code directory, which is a new directory in ASP.NET 2.0 that acts as a container for all the reusable classes in an ASP.NET Web application.
Now that you’ve created the Web service, if you right click on it and select View in Browser, you will see the screen shown in Figure 1.
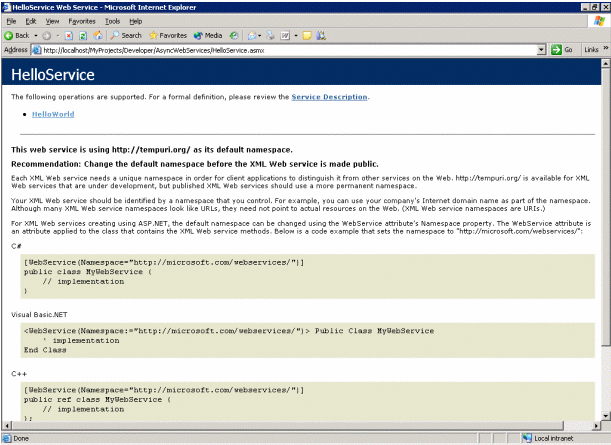
Figure 1. View Newly Created Web Service in Browser
If you click on the HelloWorld method, you will see the screen shown in Figure 2.
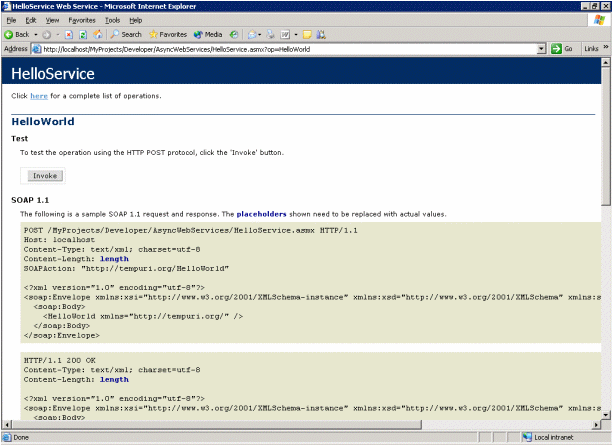
Figure 2. View HelloWorld Method in Browser
Clicking on the Invoke button in the Figure 2 results in the screen shown in Figure 3.
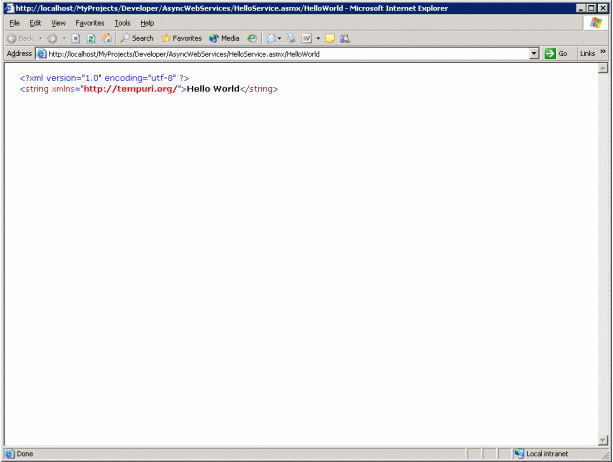
Figure 3. Invocation of HelloWorld Method
Figure 3 shows the output produced by the HelloWorld method. Now that you have implemented and tested the Web service, you can move on to the client application that will consume the Web service.